下载安装
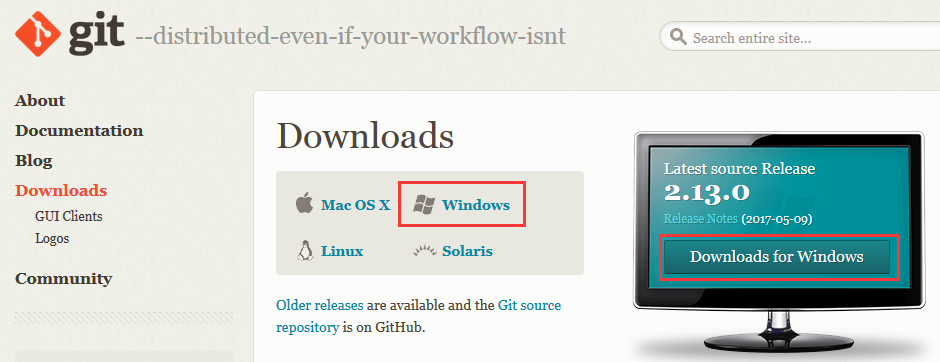
1.从git官网下载一个git安装包,官网下载地址http://www.git-scm.com/download/
2.双击安装程序,进入欢迎界面点击【Next >】
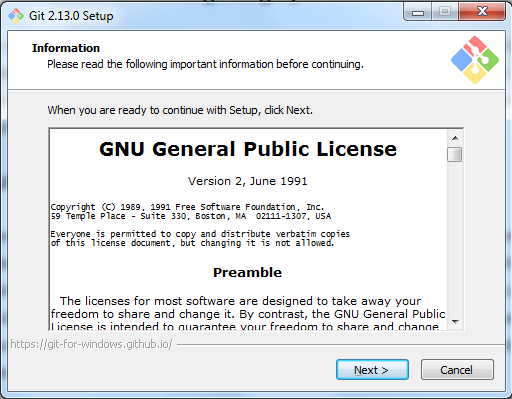
3.阅读协议,点击【Next >】

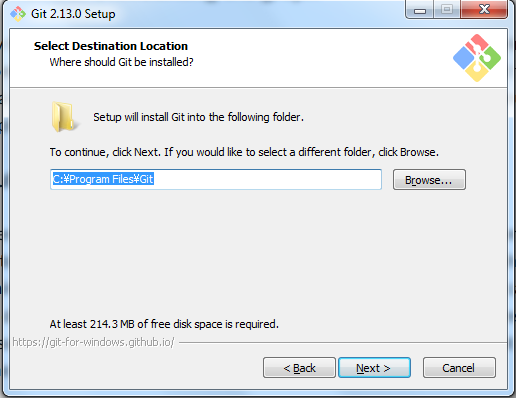
4.选择安装位置,点击【Next >】
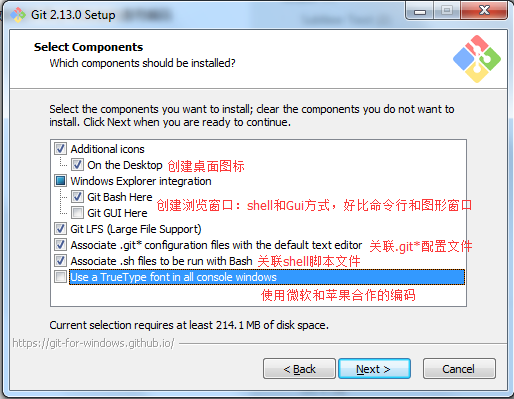
5.选择安装组件:这里可以使用默认选项,点击【Next >】
图标组件(Additional icons):选择是否创建桌面快捷方式
桌面浏览(WindowsExplorer integration)
- 使用Git Bash方式,shell方式
- 受用桌面程序方式
关联配置文件:是否关联git配置文件,该配置文件主要显示文本编辑器样式
关联shell脚本文件:是否关联Bash命令执行脚本文件
使用TrueType编码:在命令行中是否使用TrueType编码,该编码是微软和苹果公司制定的通用编码
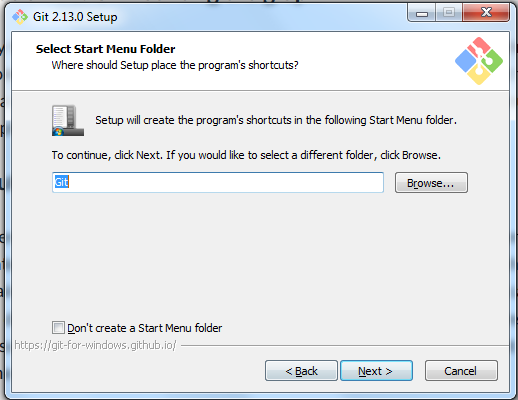
6.是否创建开始菜单快捷方式目录,点击【Next >】
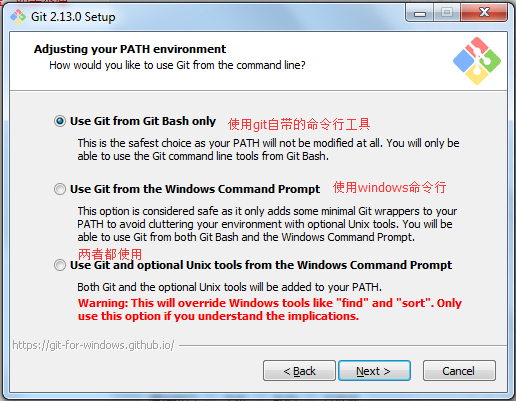
7.设置环境,选择使用什么样儿的命令行工具,一般情况我们使用默认配置,使用Git Bash,点击【Next >】
Git自带:使用Git自带的Git Bash命令行工具
系统自带CMD:使用windows系统的命令行工具
二者都有:上面二者同时配置,但是注意,这样会将windows中的find.exe和sort.exe工具覆盖,如果不懂这些尽量不要选择
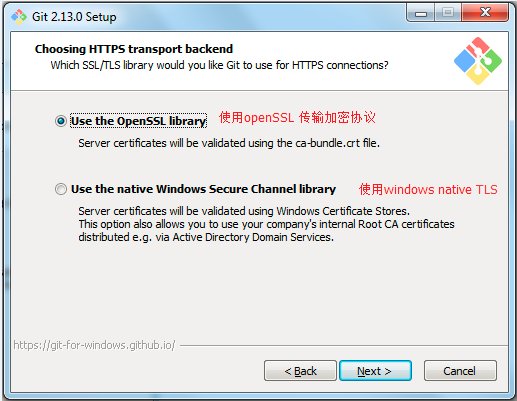
8.设置HTTPS 传输加密方式,点击【Next >】
- 使用OpenSSL库
- 使用本机Windows安全通道库
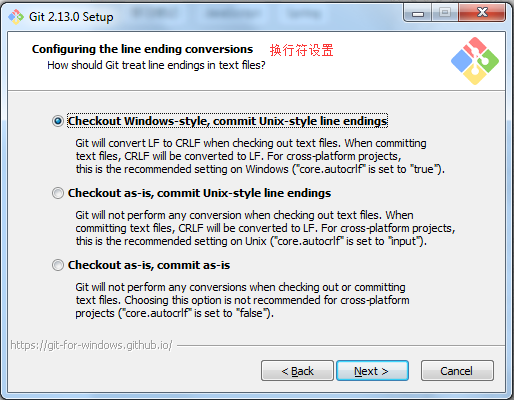
9.选择换行格式,点击【Next >】
- 让Git能够自动转换文件中的换行符:签出到本地时转换为Windows下的换行符,提交到服务器时转换为Unix下的换行符
- 让Git在签出到本地时不做转换,保留原始文件的换行符;
- 提交到服务器时转换为Unix下的换行符让Git在签出到本地时和提交到服务器时都不做转换
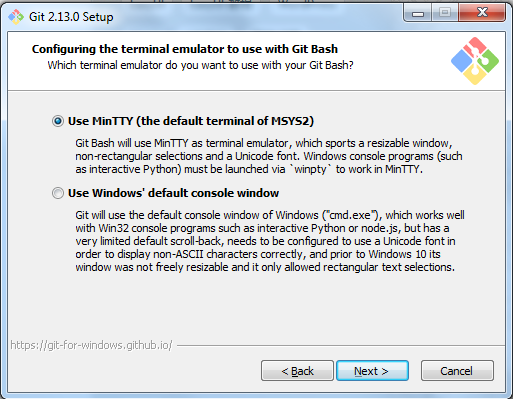
10.配置Git bash终端仿真器,点击【Next >】
- 使用MinTTY终端
- 使用windows默认的命令行
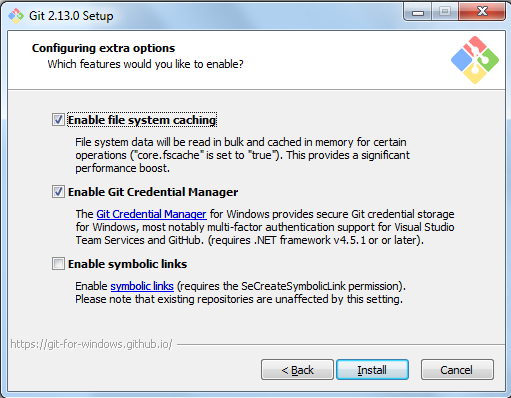
11.性能配置,是否启用文件系统缓存,点击【Next >】
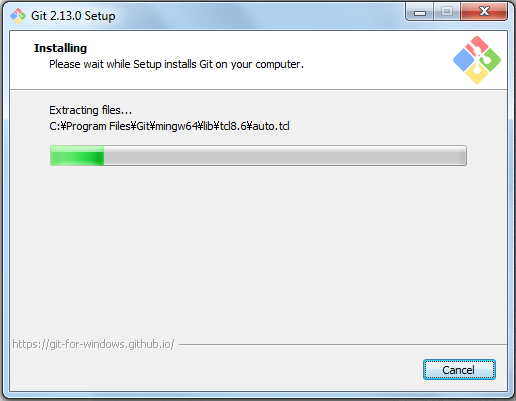
12.开始安装
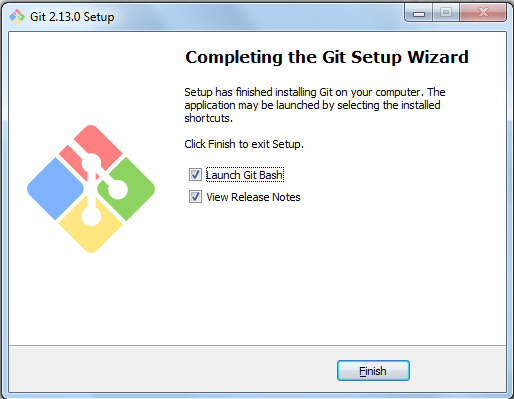
13.安装完成,点击【Finish】
14.环境变量配置
安装成功后需要配置Git环境变量「注意该步骤为Git在windows cmd命令中配置,如果不配置,直接使用Git Bash即可」
在Path变量中增加:C:\Program Files\Git\cmd
验证是否配置成功,打开windows命令行,输入git version命令,出现下列信息表示配置成功。

到此这篇关于windows下gitbash安装教程(小白教程)的文章就介绍到这了,更多相关gitbash安装教程内容请搜索脚本之家以前的文章或继续浏览下面的相关文章希望大家以后多多支持脚本之家!
您可能感兴趣的文章:- git bash配置ssh 登录 Linux的方法
