注意:班级同学们请到班级资料下载安装包,可以不用到网上下载。
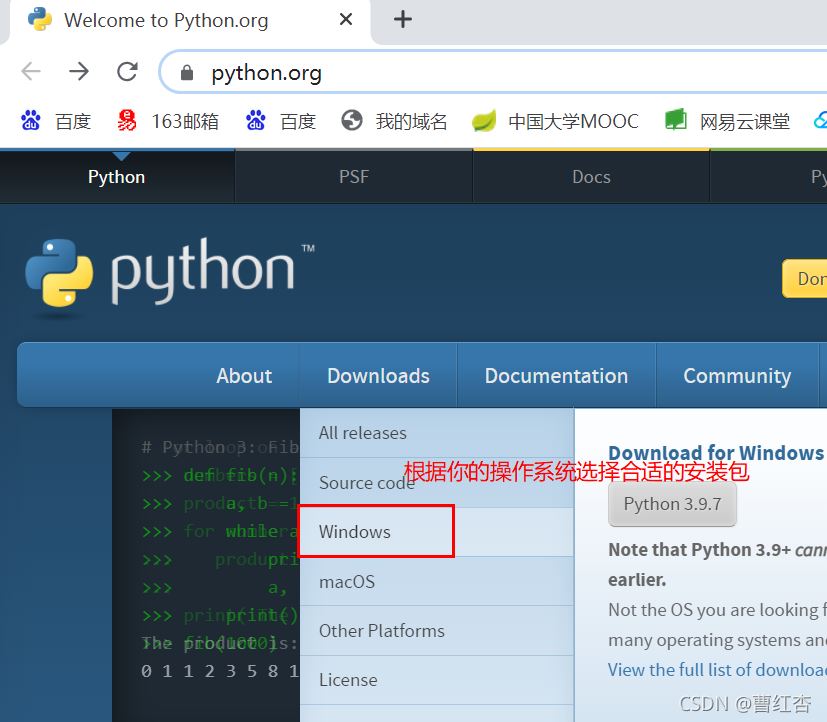
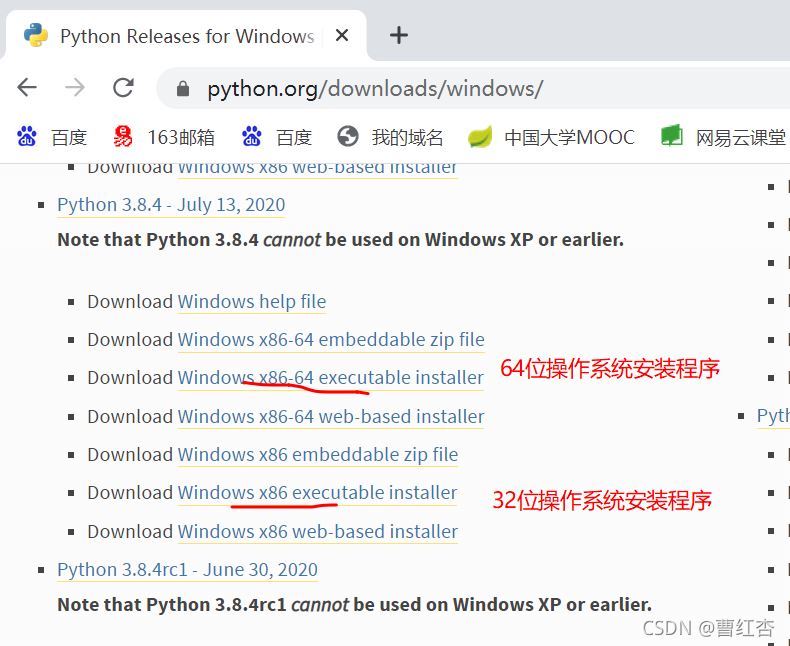
点击导航栏download->windows ,在打开的页面下载选择合适python版本的安装包下载。
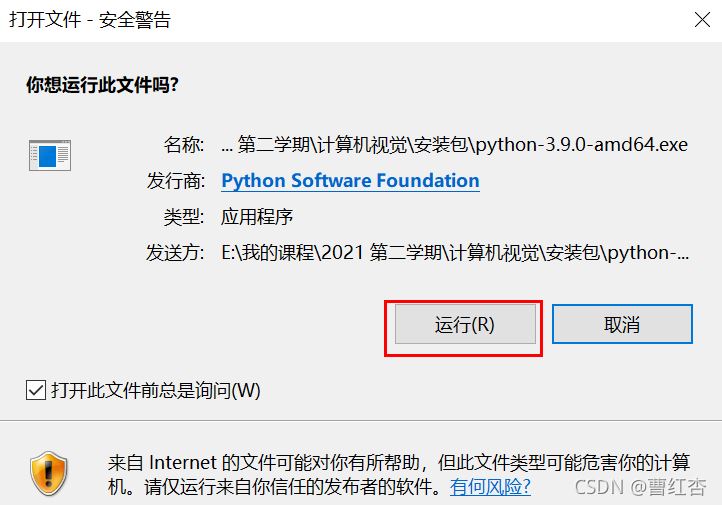
a、双击启动安装程序, 在如下弹窗上点击【运行】,系统打开安装程序。
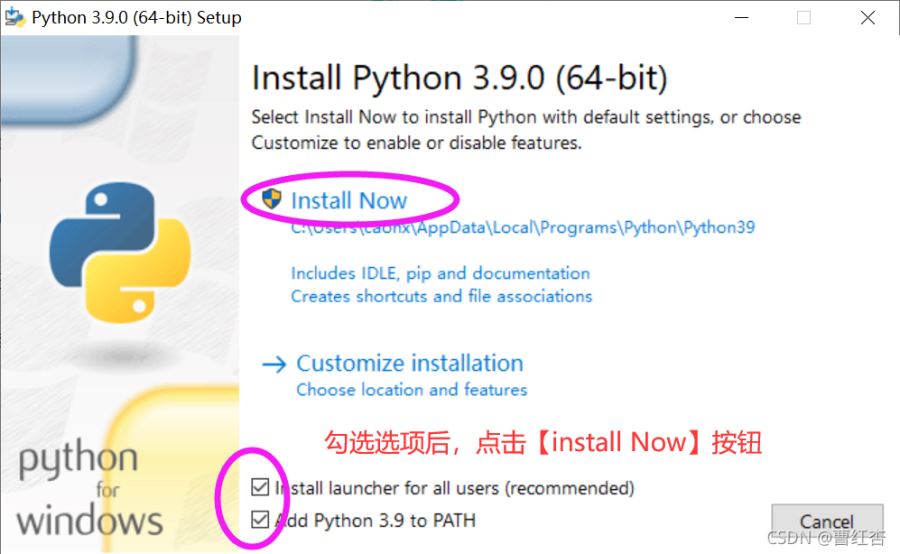
b.勾选窗口下方的选项后,点击【install Now】按钮开始安装
知识点:添加python路径到path后,你在命令窗口中的任何路径下执行python,系统都可以找到python.exe,如果不添加到环境变量path中,则必须指定完整的python.exe的路径才能正常启动python。
系统弹出是否允许对设备更改的提示窗口,点击【是】后继续安装
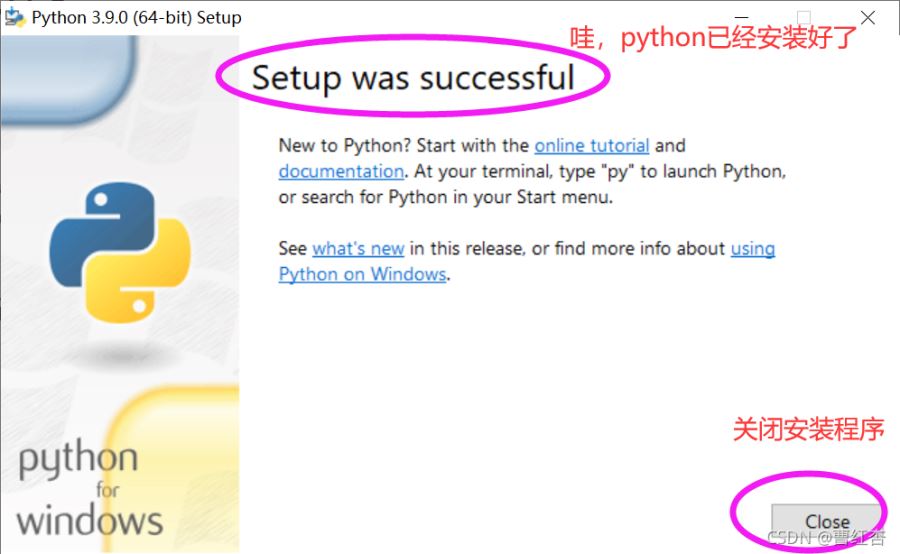
c.安装完成后关闭安装程序
当出现下面的窗口,就说明你已经成功安装了python,点击【close】结束安装。
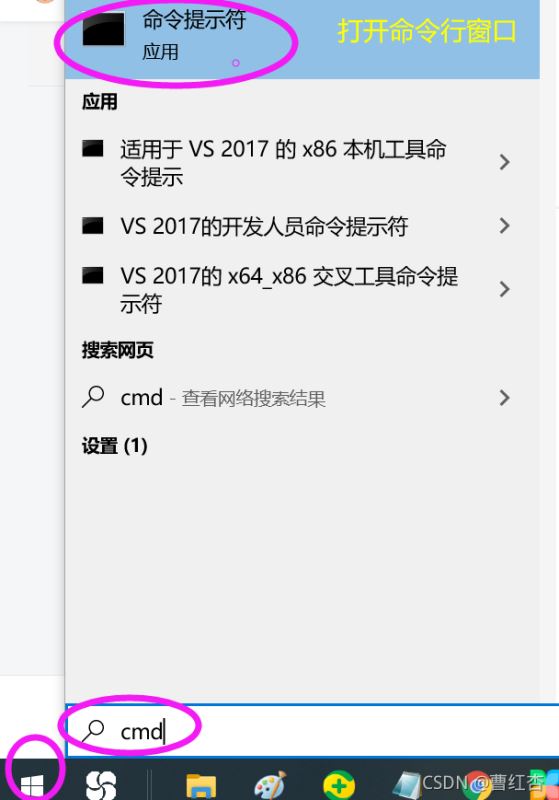
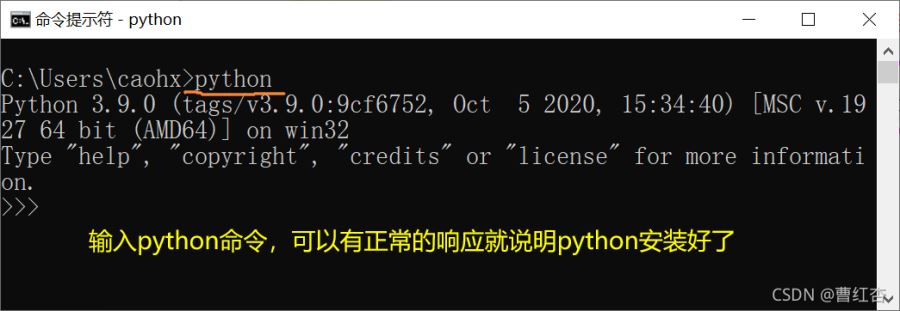
打开命令行窗口(cmd) ,输入python后,系统能正常响应,并进入python环境,则说明安装成功了。
numpy库支持数组、矩阵等运算,是opencv需要的。所以要先安装下。
安装numpy只需要在命令行窗口中输入 :
pip install numpy
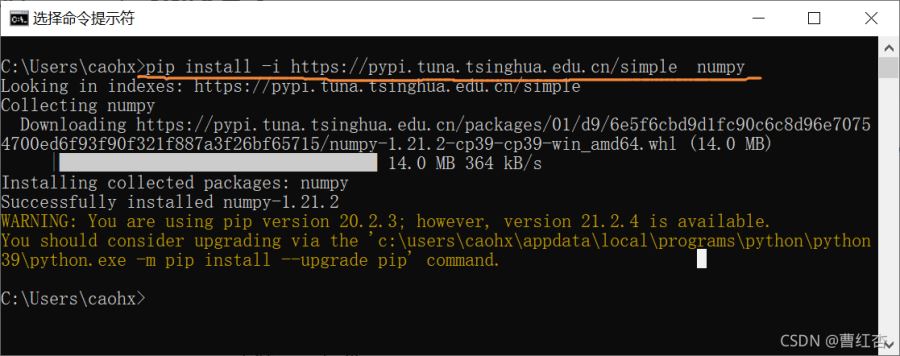
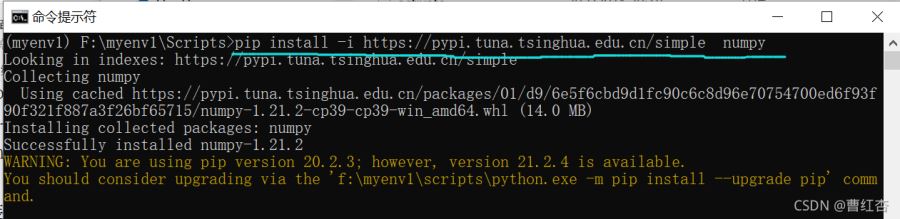
但为提高下载速度,建议采用国内镜像源进行安装:
pip install -i https://pypi.tuna.tsinghua.edu.cn/simple numpy
知识点:pip默认从国外 https://pypi.Python.org/simple/ 下载,下载速度慢,
-i 参数可以指定镜像源,采用国内镜像,提高安装速度。
https://pypi.tuna.tsinghua.edu.cn/simple 为清华大学镜像源
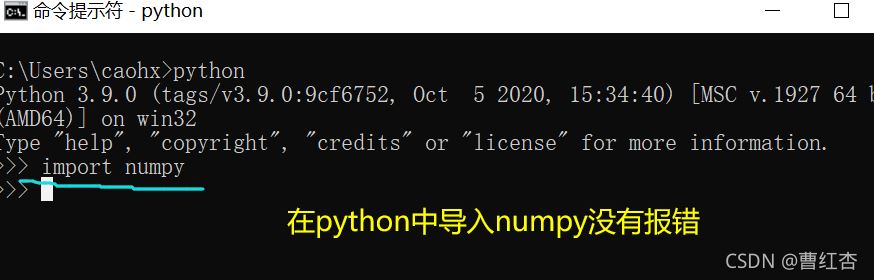
启动python后,执行import numpy,如果没有错误提示,则说明numpy正常安装了
matplotlib在显示图像,绘制图表方面很方便,建议大家安装一下。
安装和检查的方法同numpy。安装命令改为:
pip install -i https://pypi.tuna.tsinghua.edu.cn/simple matplotlib

opencv有三种方式可以安装,pip方式,预编译方式和源代码方式。第三种方式较为复杂,就不在此介绍。上面pip的方式想必同学们已经掌握,所以建议同学们可以操练下预编译方式奥。
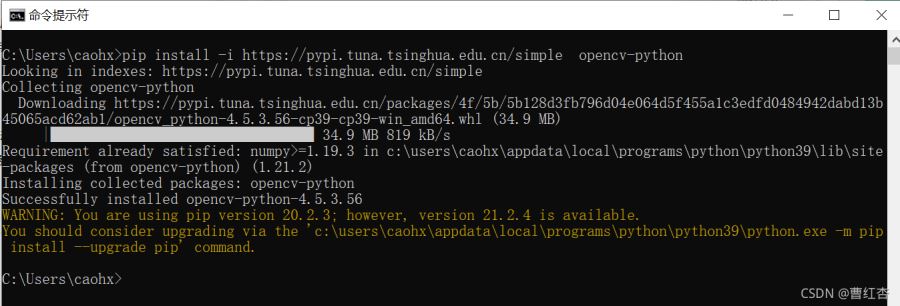
1) pip方式:
pip install -i https://pypi.tuna.tsinghua.edu.cn/simple opencv-python
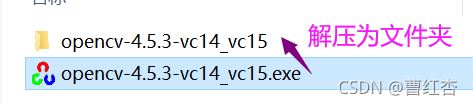
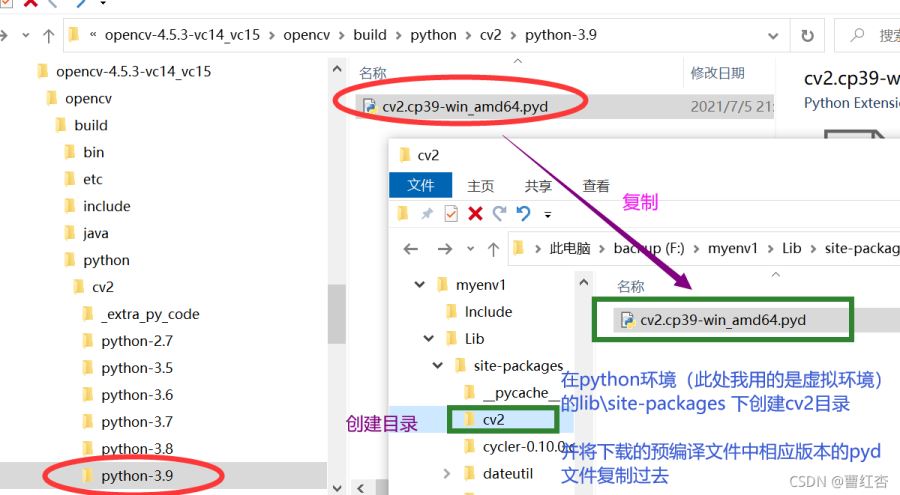
2)预编译方式
在python官网下载预编译的opencv文件后,解压。
(班级同学不用下载,请到超星班级资料 的 安装包及组件 > opencv预编译文件 目录下下载)
著名的jupyter notebook还是很有必要安装下的。
它是一种交互式编程工具,你可以写上一段代码,就执行下,执行结果也可以保留下来,让学习过程变得更直接,更容易。
大家可以采用pip方式安装jupyter notebook。
安装命令不告诉你,是不是你已经可以自己搞定了呢?
pip install -i https://pypi.tuna.tsinghua.edu.cn/simple jupyter notebook
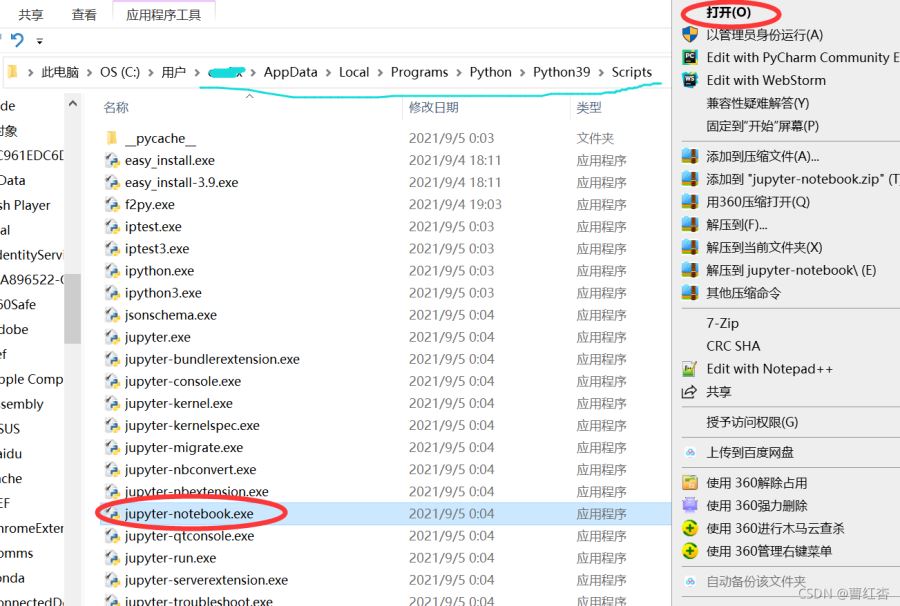
安装截图如下

安装完成后,运行jupyter notebook.exe即可启动。
1)vscode的下载和安装
注意。班级同学请去超星班级资料下载,无需去vscode官网下载安装包,
a)打开下载页面
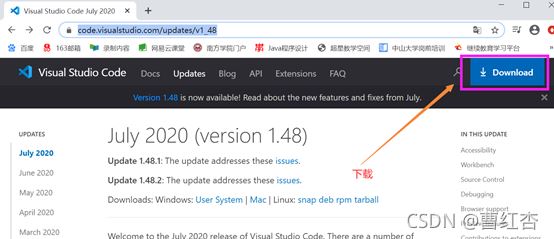
b)根据操作系统选择相应安装程序
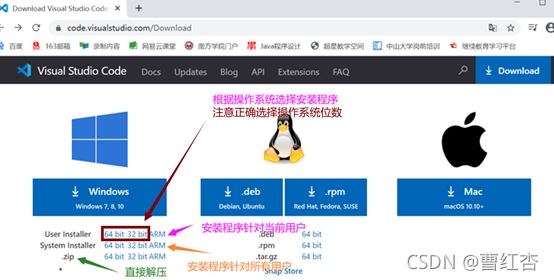
c)解压zip文件
解压到D盘根目录下(也可是其他盘,建议在根目录下方便查找)
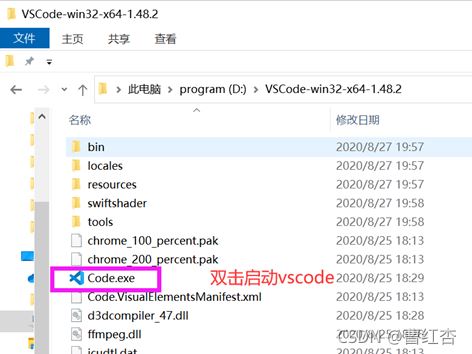
d)启动程序
如上图所示,到解压目录下,双击code.exe启动程序。打开界面如下
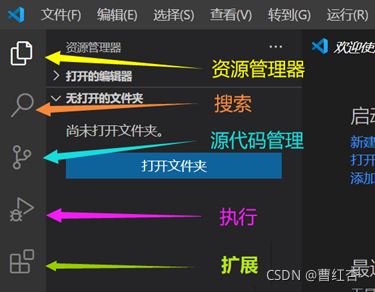
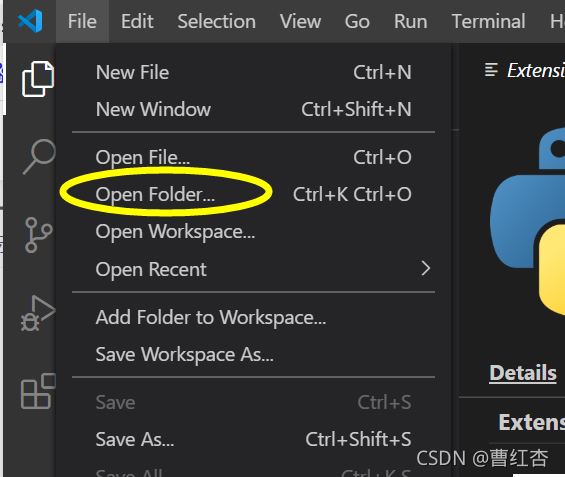
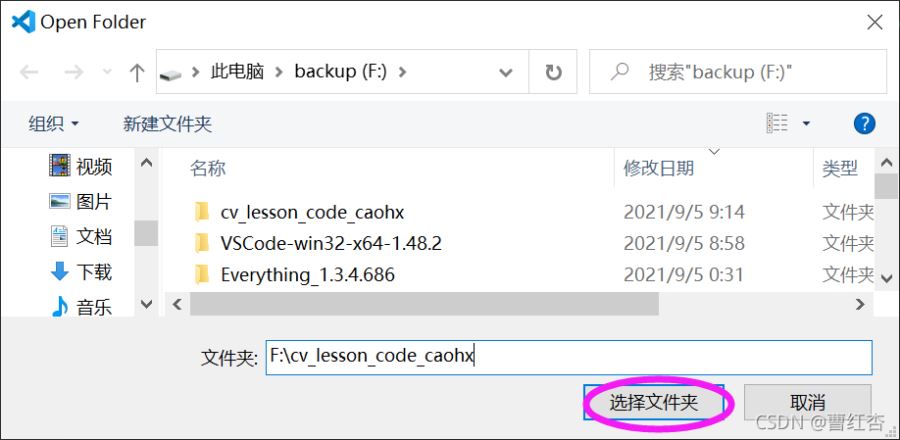
如果你希望打开或保存文件到指定目录,可以点击【打开文件夹】选择哪个目录
例如,
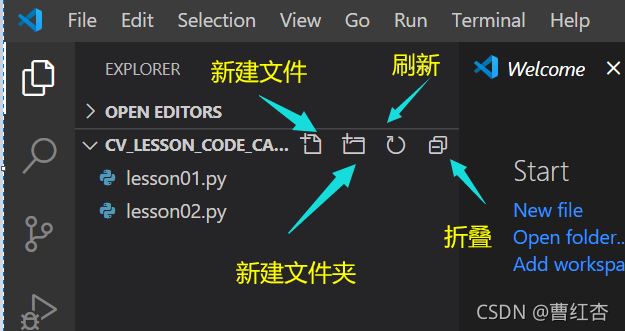
打开后,列表显示文件夹中的文件
2)vscode环境配置
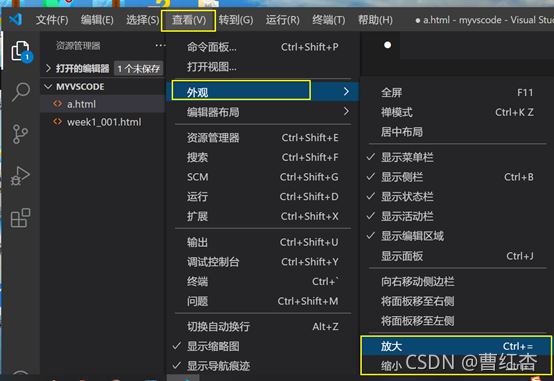
a)界面字体大小设置
b)界面汉化插件安装
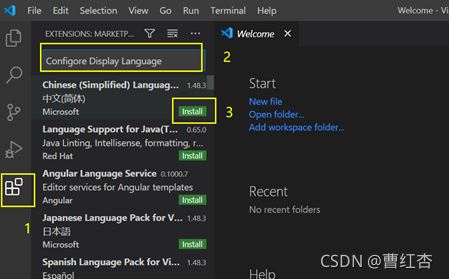
点击【install】,安装完成后重启。下面就是汉化之后的界面
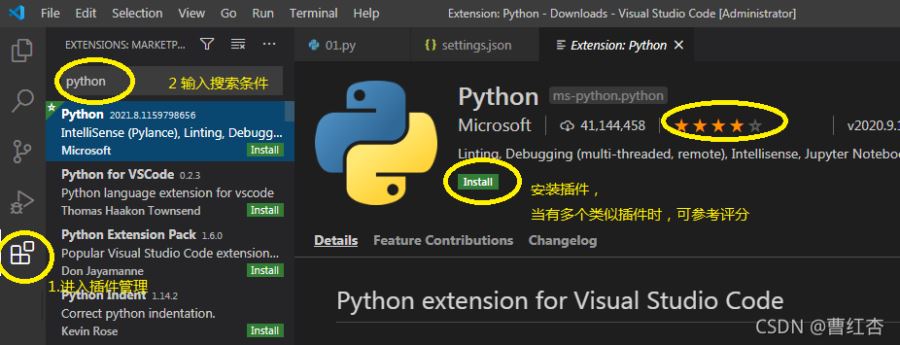
c).vscode上安装python插件
参考如下所示,安装python插件
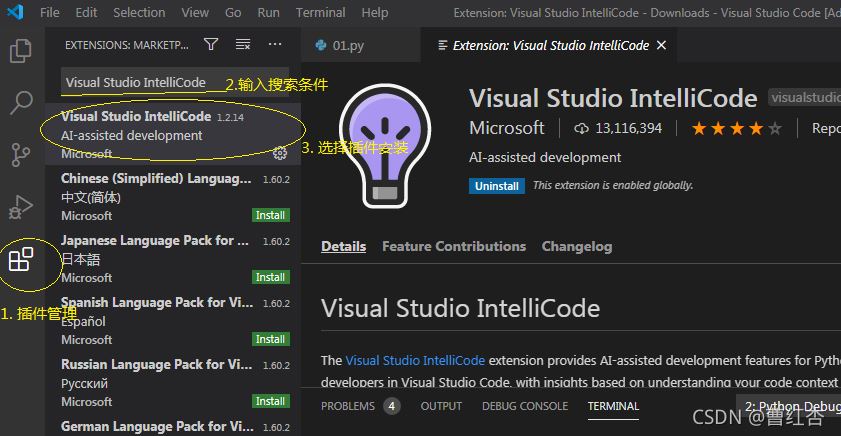
Visual Studio IntelliCode
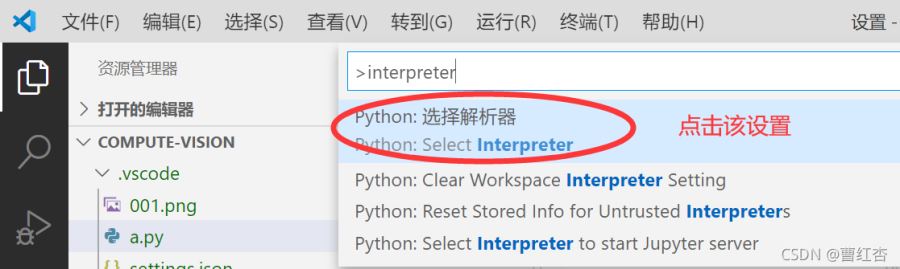
6. 设置python解释器
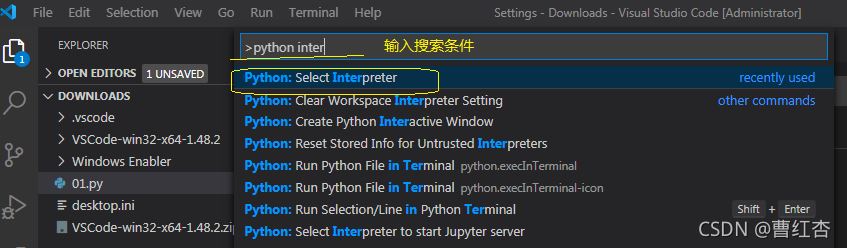
打开命令选项板(Ctrl + Shift + P)选择Python 3解释器,开始键入Python:select inter命令进行搜索,然后选择命令。
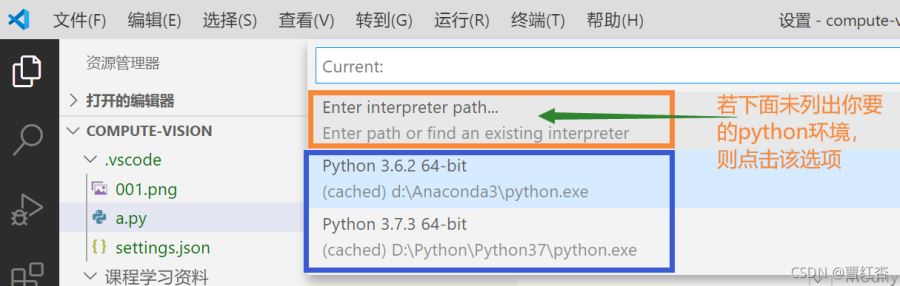
选择命令后,系统弹出可选的python解释器环境,根据需要选择
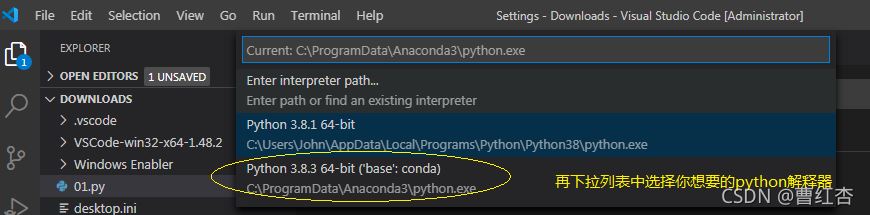
如果你要的python环境不再列表中,则点击“enter interpreter path...”,在弹出窗口中选择你要的那个python文件路径。
在vscode中点击新建一个python文件,如lesson01.py
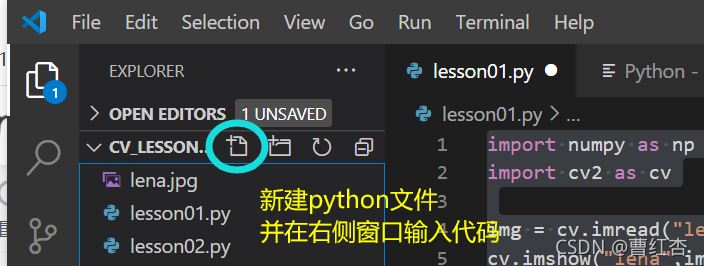
输入代码如下:
注意:请确保执行前你已经将lena,jpg文件放到该py文件所在的目录,否则则会由于找不到文件而打开失败。
import numpy as np
import cv2 as cv

img = cv.imread("lena.jpg")  #读取当前路径下的图像文件lena,jpg
cv.imshow("lena",img)        # 显示图像,窗口标题未:lena
cv.waitKey(0)                #等待用户输入
cv.destroyAllWindows()       #用户一旦输入任意键后,程序关闭窗口
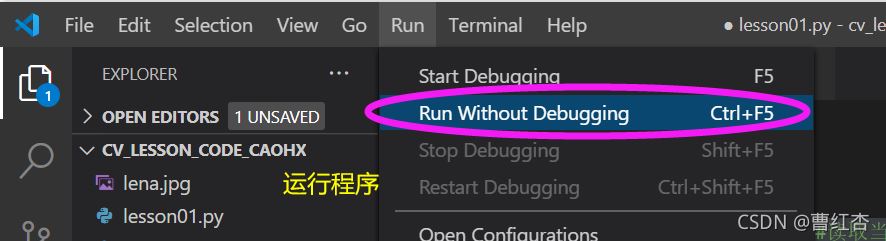
执行结果如下

我们手头可能有2个项目,项目A可能需要的opencv版本a可能和项目B需要的opencv版本,那么怎么办?
我们可以运行项目A时,按要求安装opencv版本a,运行项目B时,卸载opencv的版本a,再安装版本b,但是这样会不会让人难过,有点头晕呢?
还好,我们可以通过虚拟环境解决。
虚拟环境就好比你准备好多个独立的房间,不同的房间进行不同的装修,需要什么样的配置,就选用那个房间就好了。
虚拟环境的基本过程为:创建虚拟环境 -> 激活某个虚拟环境 -> 配置虚拟环境 -> 使用环境
下面我们来搭建一个虚拟环境看看吧!
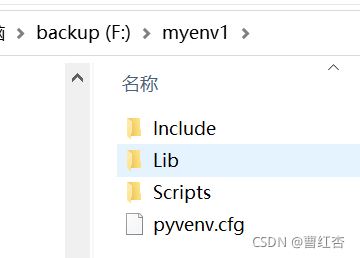
1)创建虚拟环境
下面命令在当前路径下创建一个文件夹myenv1作为虚拟环境文件的容器
python -m venv myenv1

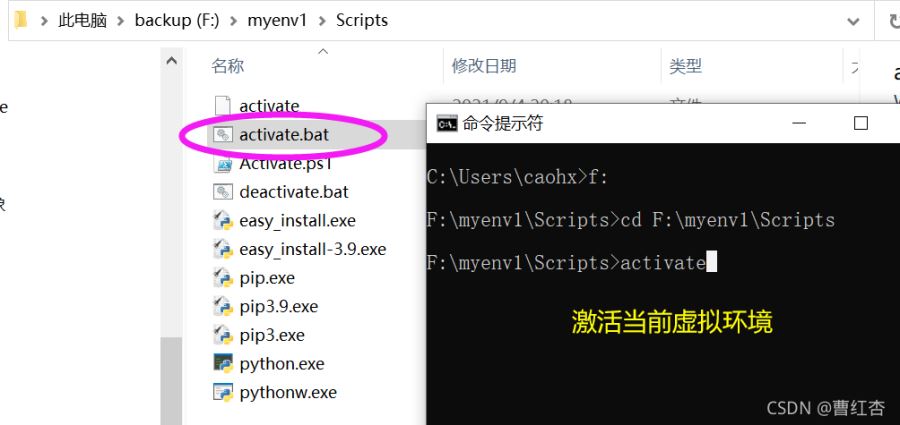
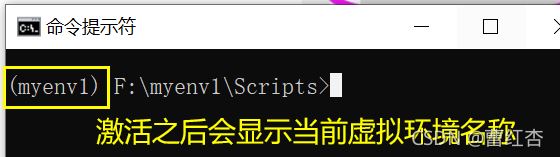
2)激活虚拟环境
根据需要安装相应的模块
3)配置虚拟环境
激活后就可以根据需要安装相应的模块了。例如,如下所示:
4)使用虚拟环境
你可以在在你的python开发环境中去设置虚拟环境。
下面以vscoe为例说明,的虚拟环境的配置方法。
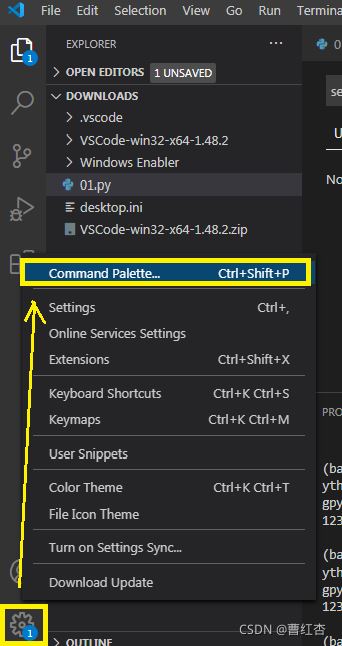
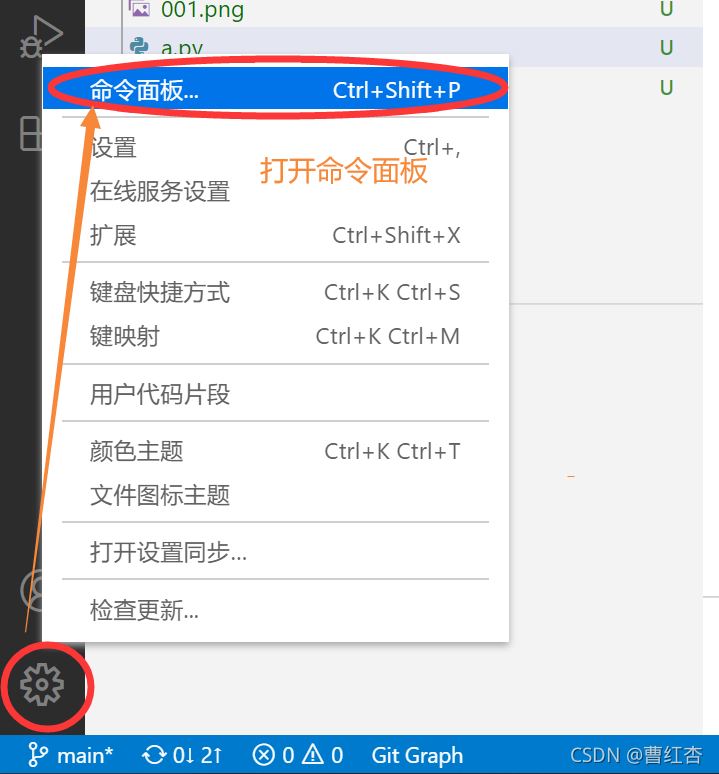
a)点击左下角的“管理”按钮后,点击弹出菜单[命令面板..]
然后,再点击下图中的【Find..】

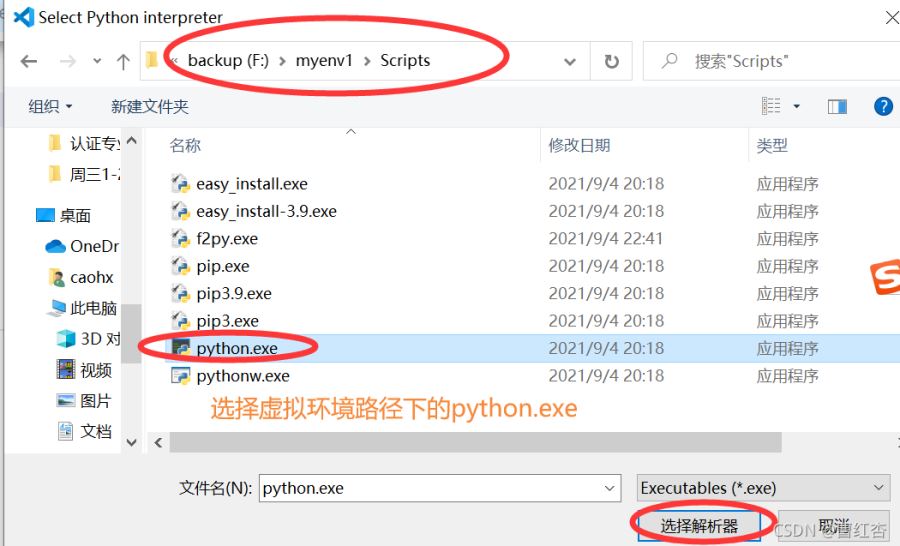
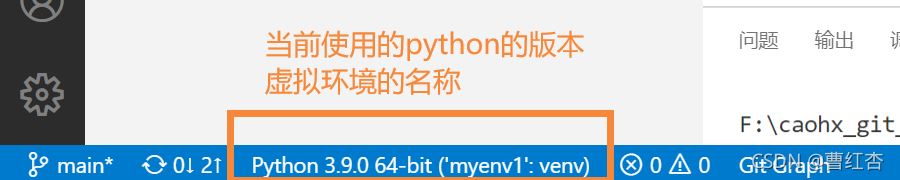
设置之后,vscode左下角显示了当前使用的虚拟环境,及其python的版本
到此这篇关于opencv-python 开发环境的安装、配置的文章就介绍到这了,更多相关opencv python环境配置内容请搜索脚本之家以前的文章或继续浏览下面的相关文章希望大家以后多多支持脚本之家!
标签:呼伦贝尔 银川 乌鲁木齐 呼伦贝尔 安庆 三亚 葫芦岛 湘西
巨人网络通讯声明:本文标题《opencv-python 开发环境的安装、配置教程详解》,本文关键词 opencv-python,开发,环境,的,;如发现本文内容存在版权问题,烦请提供相关信息告之我们,我们将及时沟通与处理。本站内容系统采集于网络,涉及言论、版权与本站无关。