目录
- 一、环境介绍
- 二、 搭建python开发环境
- 2.1 Python版本介绍
- 2.2 在windows下安装Python环境
- 2.3 windows下安装VSCode代码编辑器
一、环境介绍
操作系统: win10 64位
python版本: 3.8
IDE: 采用vscode
用到的相关安装包CSDN打包下载地址: http://xiazai.jb51.net/202107/yuanma/Pytho_jb51.rar
二、 搭建python开发环境
2.1 Python版本介绍
因为Python是跨平台的,它可以运行在Windows、Mac和各种Linux/Unix系统上。在Windows上写Python程序,放到Linux上也是能够运行的。
要开始学习Python编程,首先就得把Python安装到你的电脑里。安装后,你会得到Python解释器(就是负责运行Python程序的),一个命令行交互环境,还有一个简单的集成开发环境。
目前,Python有两个版本,一个是2.x版,一个是3.x版,这两个版本是不兼容的。由于3.x版越来越普及,后面就选择 3.x版本进行安装。
2.2 在windows下安装Python环境
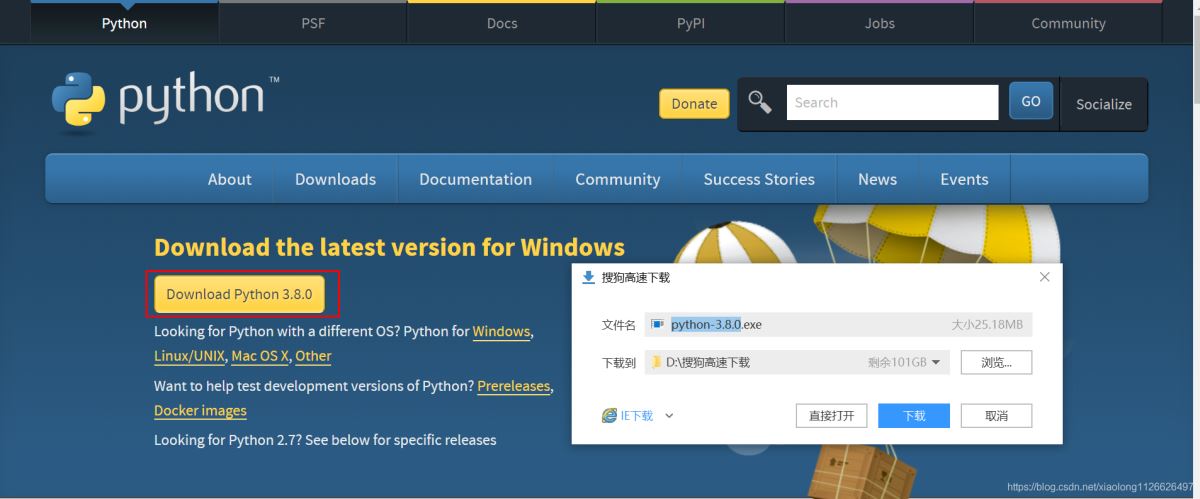
Python官网下载地址: https://www.python.org/downloads/
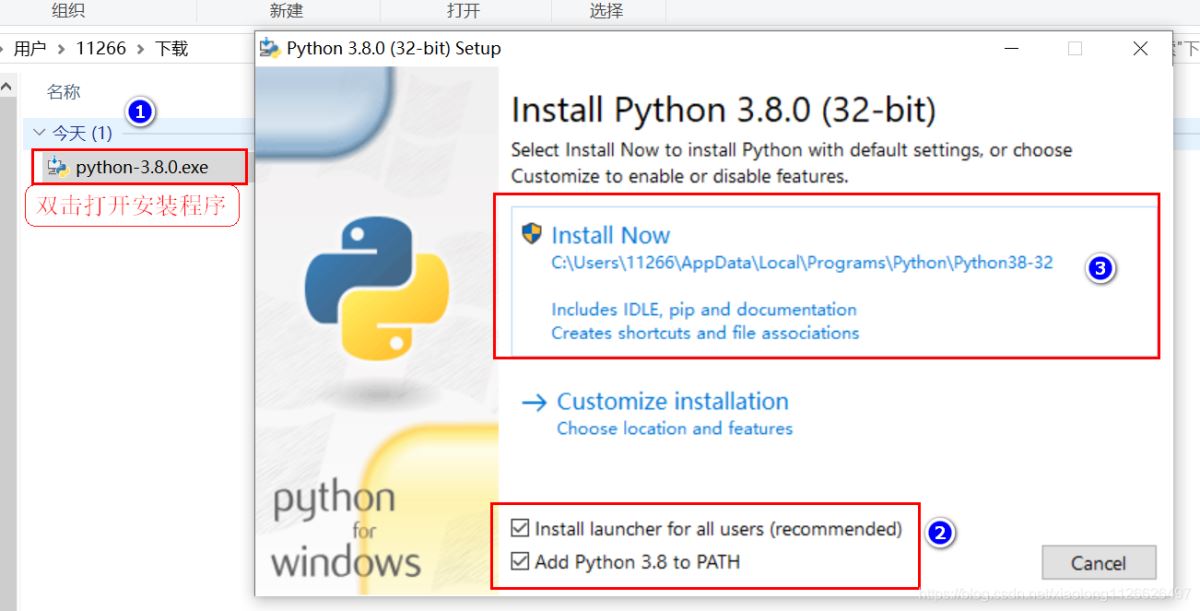
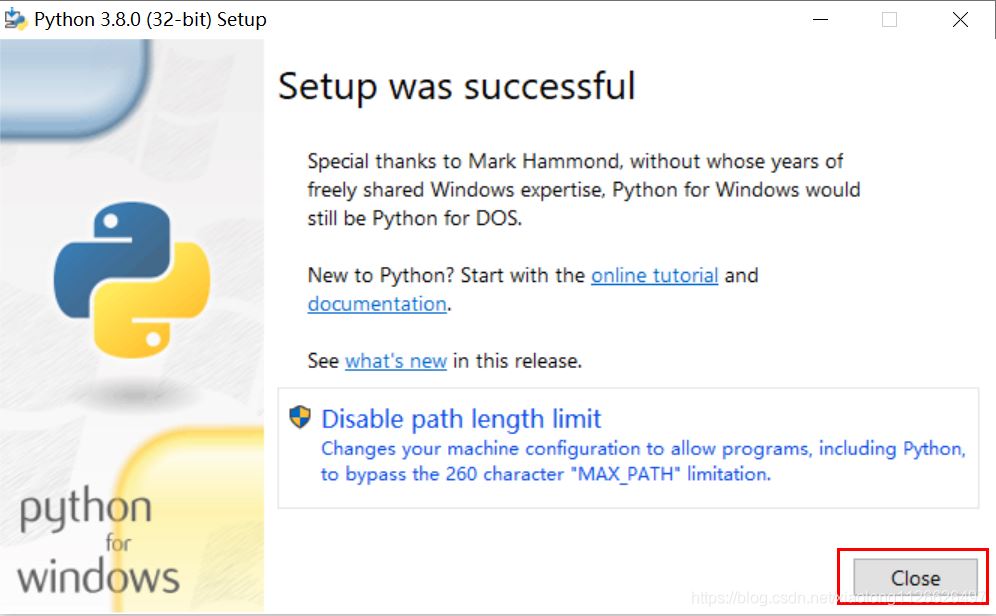
勾上Add Python 3.8 to PATH,然后点“Install Now”即可完成安装。
安装完成之后,打开windows的命令行窗口。
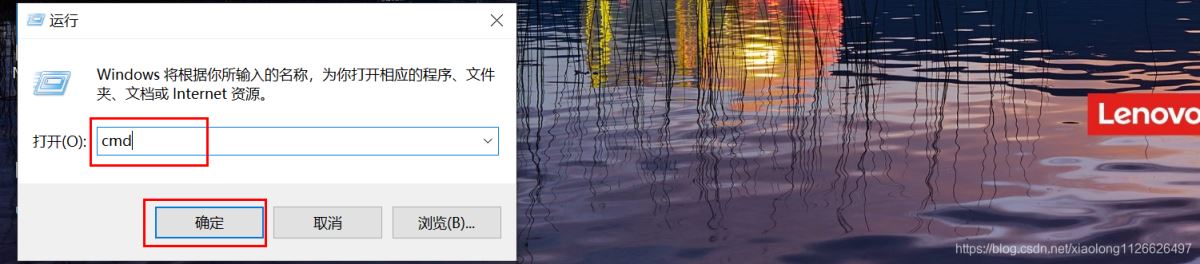
在命令行运行python,出现下面的提示就表示安装成功。

进入终端之后,输入exit()可以退出Python命令行。
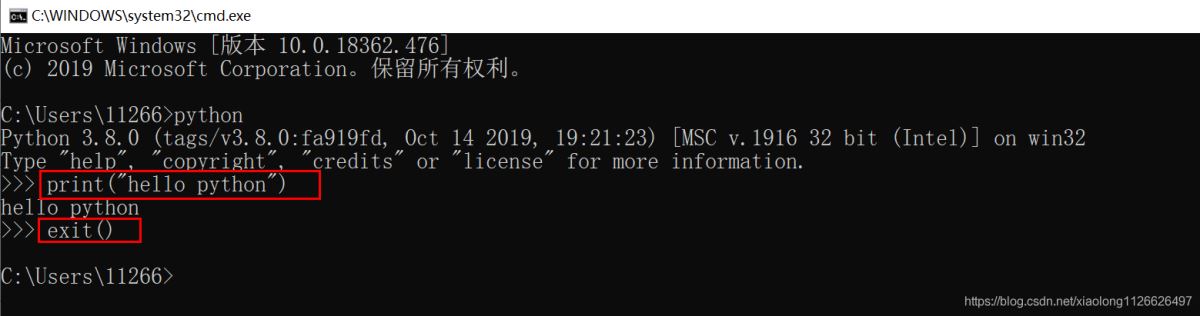
Python安装成功后,在python交互式环境模式下,可以简单学习一下Python的第一份代码:
C:\Users\11266>python
Python 3.8.0 (tags/v3.8.0:fa919fd, Oct 14 2019, 19:21:23) [MSC v.1916 32 bit (Intel)] on win32
Type "help", "copyright", "credits" or "license" for more information.
>>> 100+500      #直接输入有效数字进行运算
600
>>> 300-100
200
>>> print("hello python")    #打印文本
hello python
>>> print('hello python')     #打印文本
hello python
>>> exit()                #退出交互式命令行

C:\Users\11266>
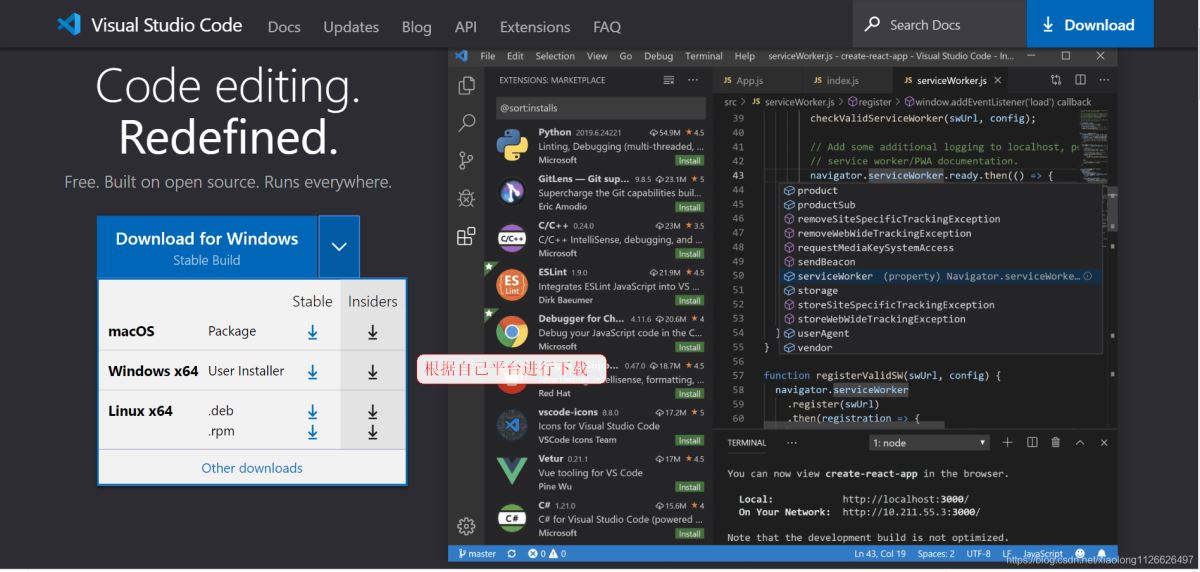
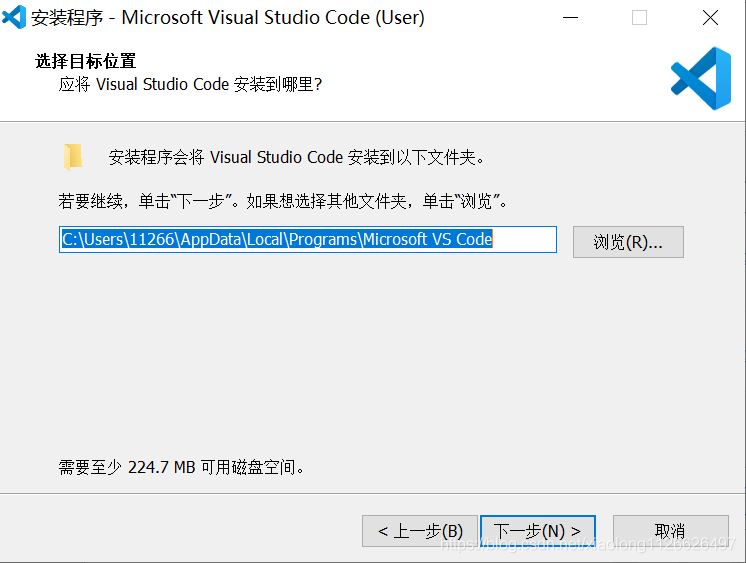
2.3 windows下安装VSCode代码编辑器
下载地址: https://code.visualstudio.com/
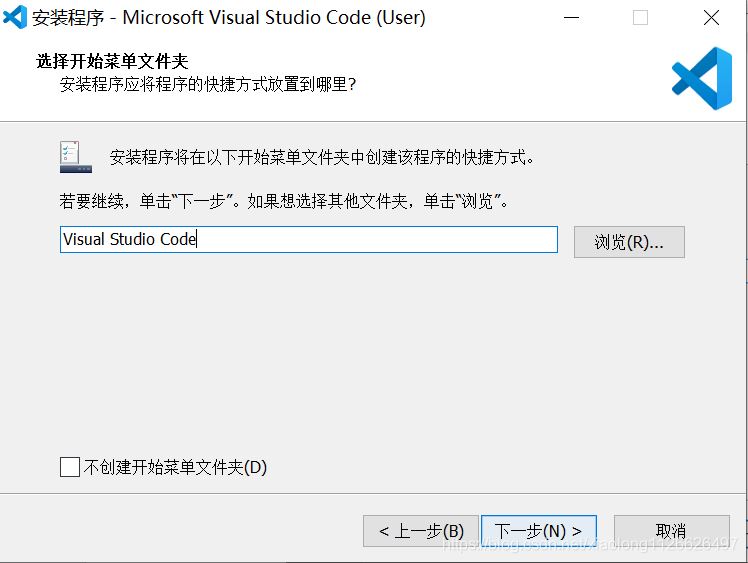
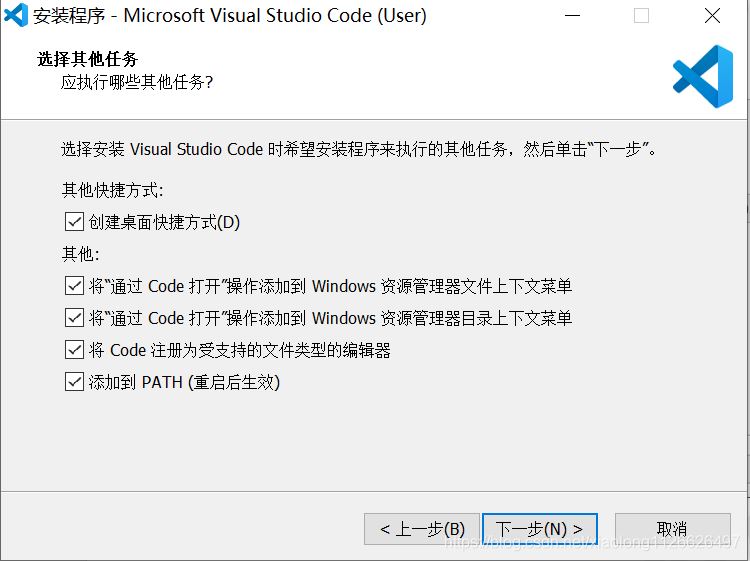
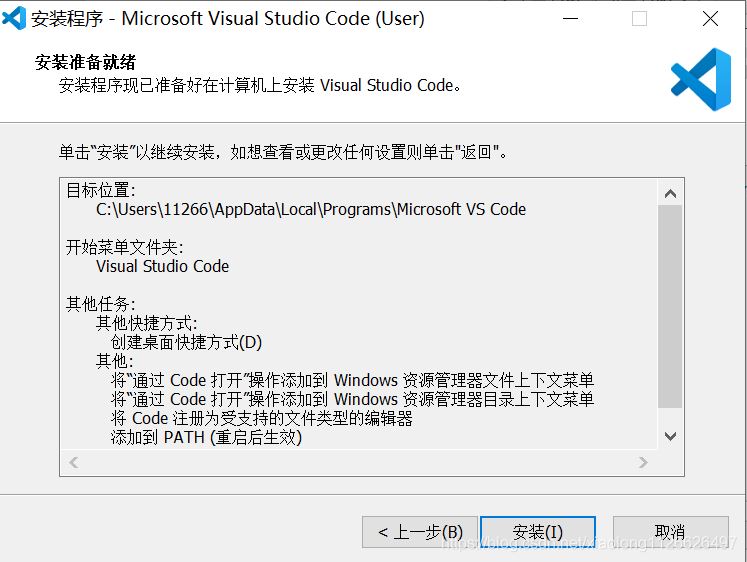
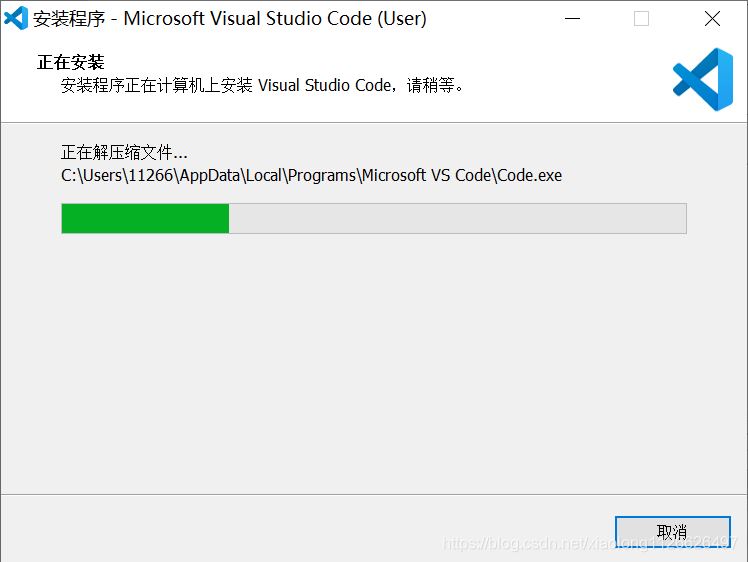
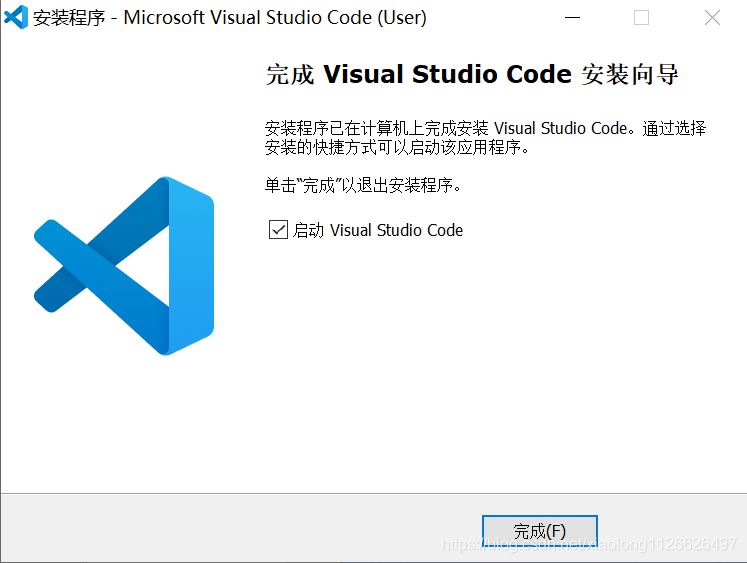
安装包下载之后,直接鼠标双击运行。
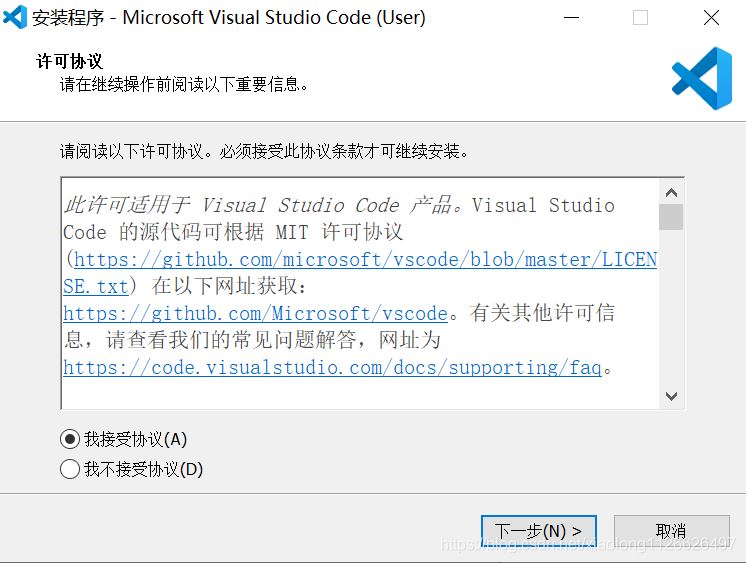
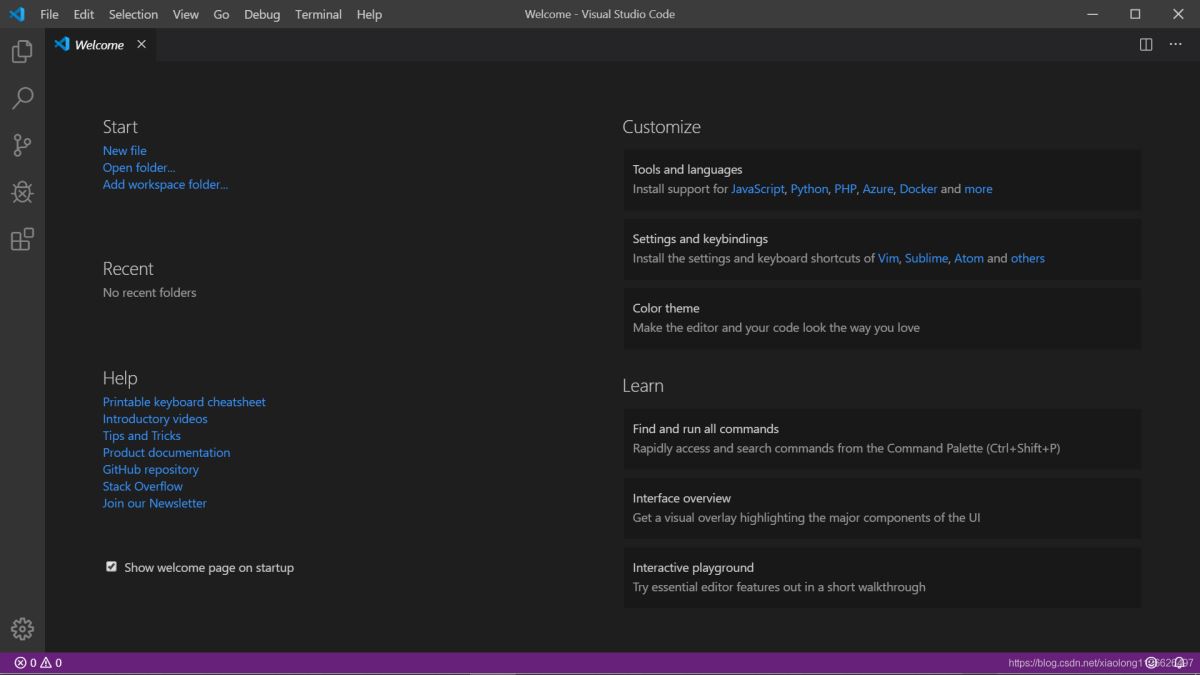
软件安装之后下面设置 Visual Studio 支持中文语言
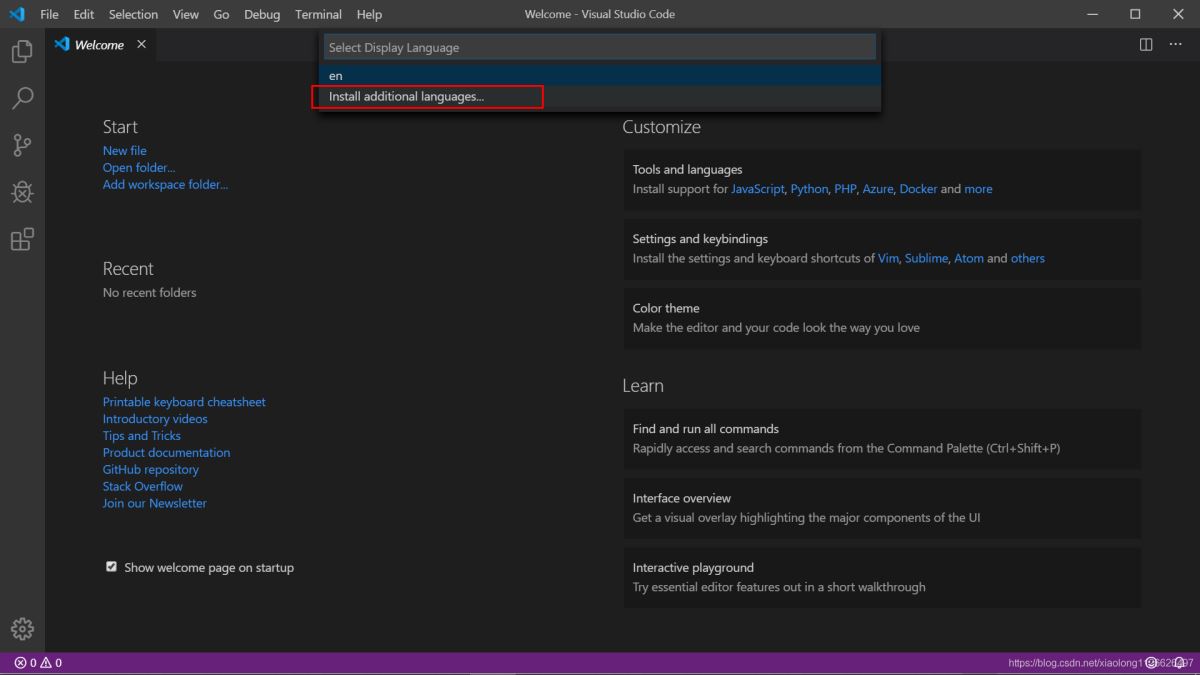
首先打开 Visual Studio 软件, 再按下 F1 或者 Shift + Ctrl + P:
然后在命令行输入 Configure Display Language
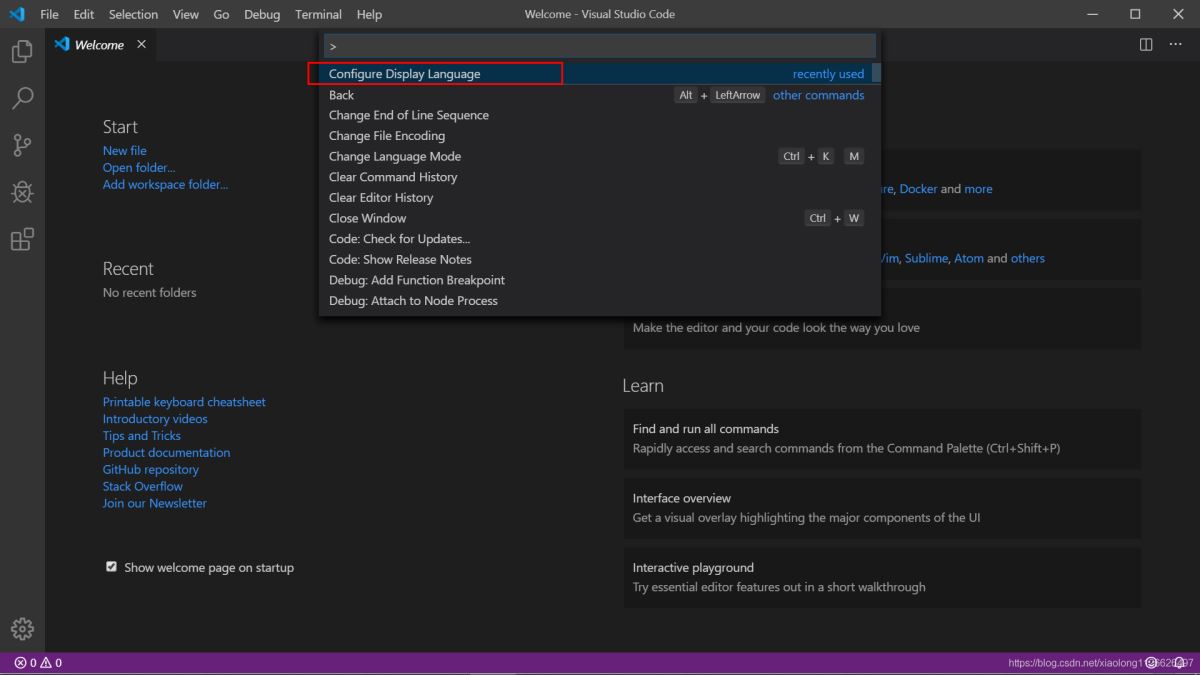
选择安装语言选项。

安装之后右下角有提示重启,点击重启即可。
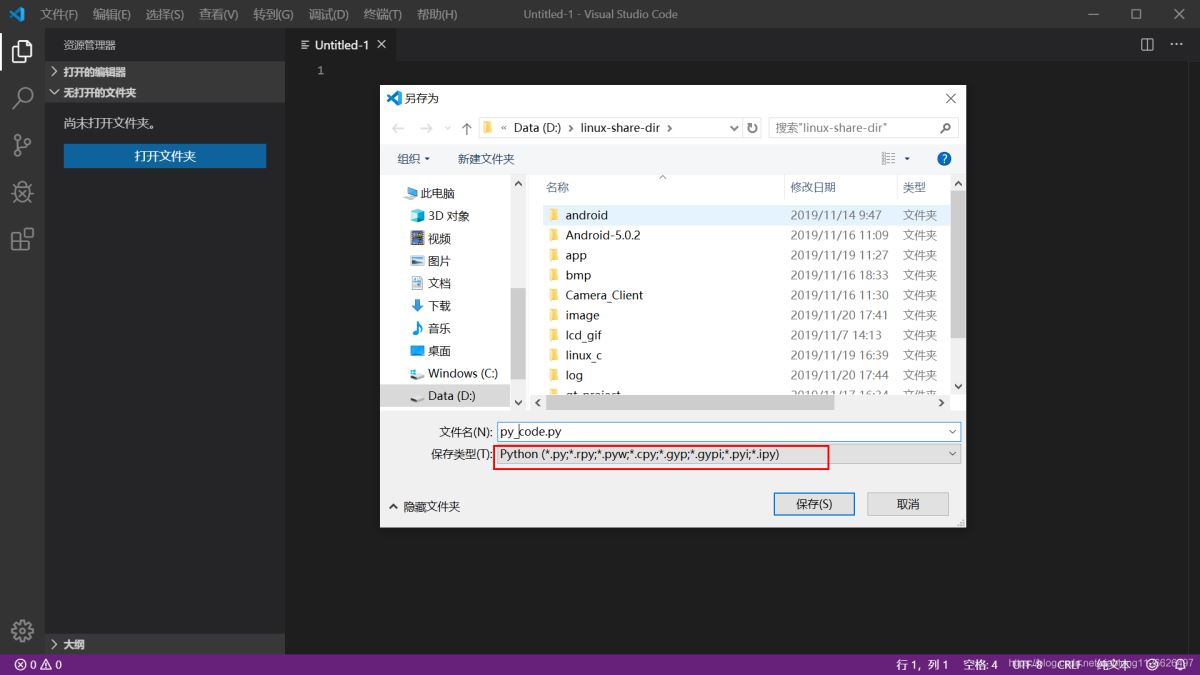
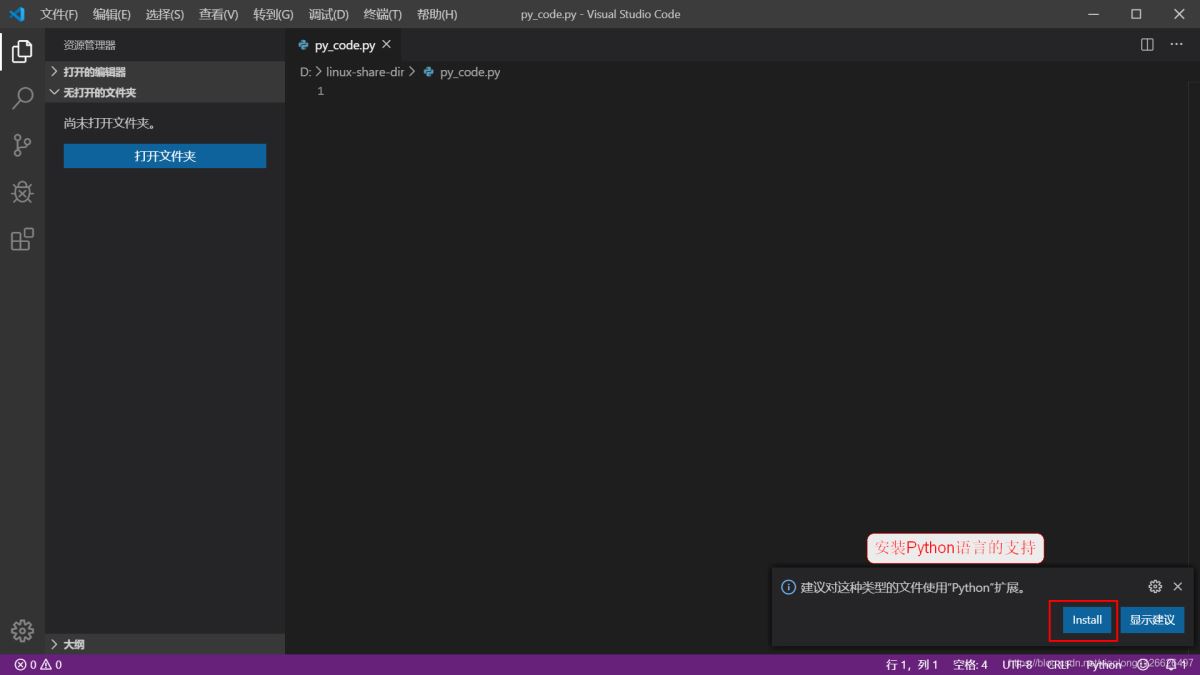
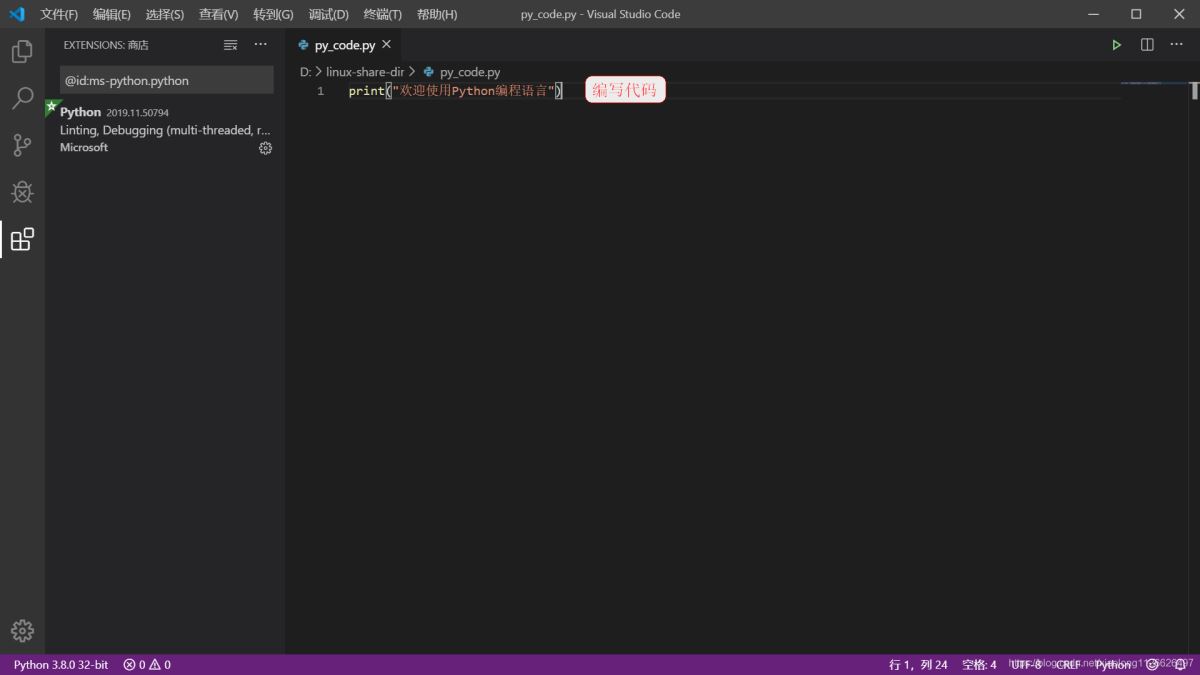
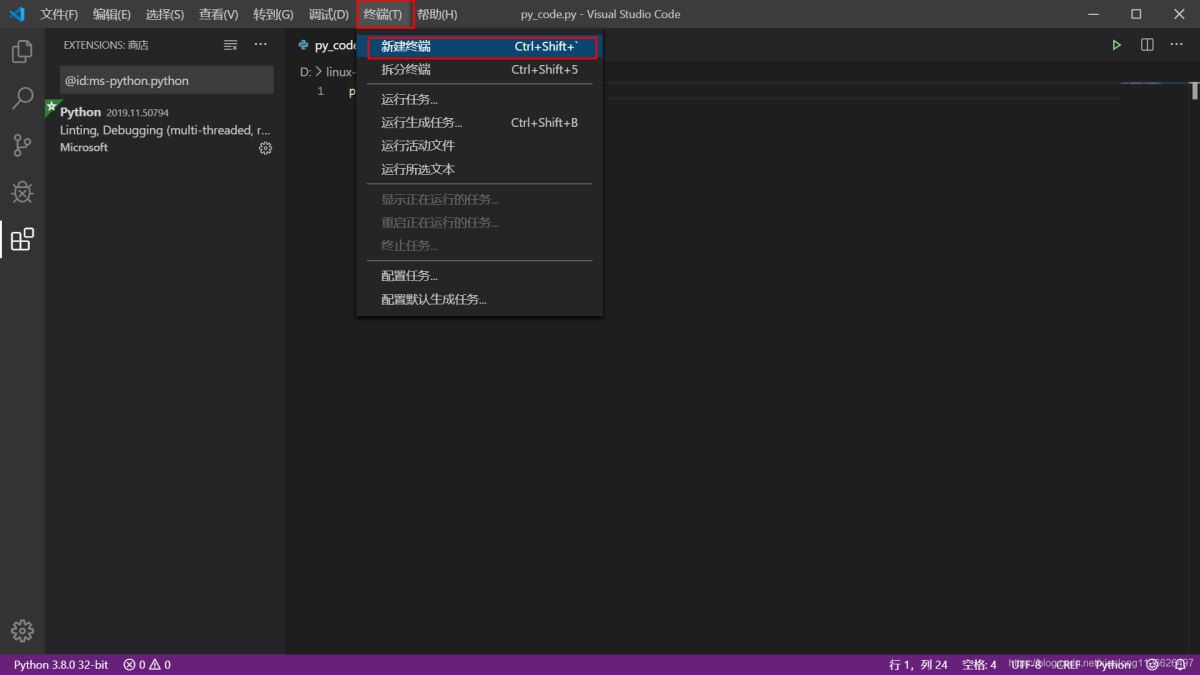
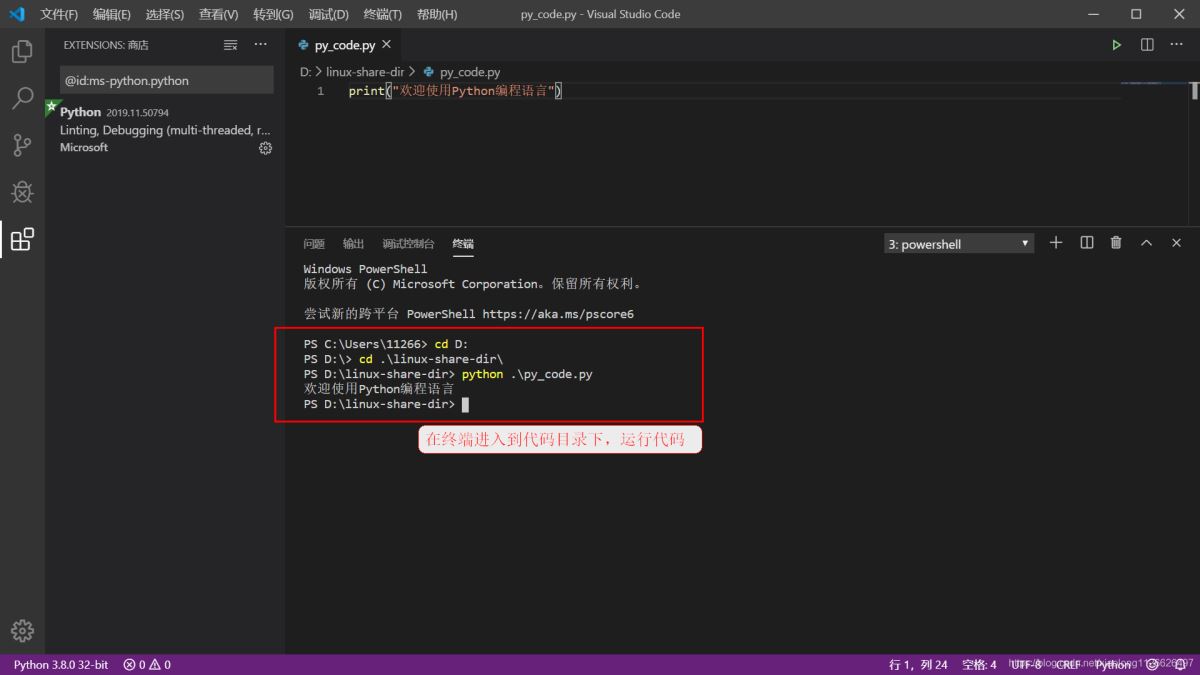
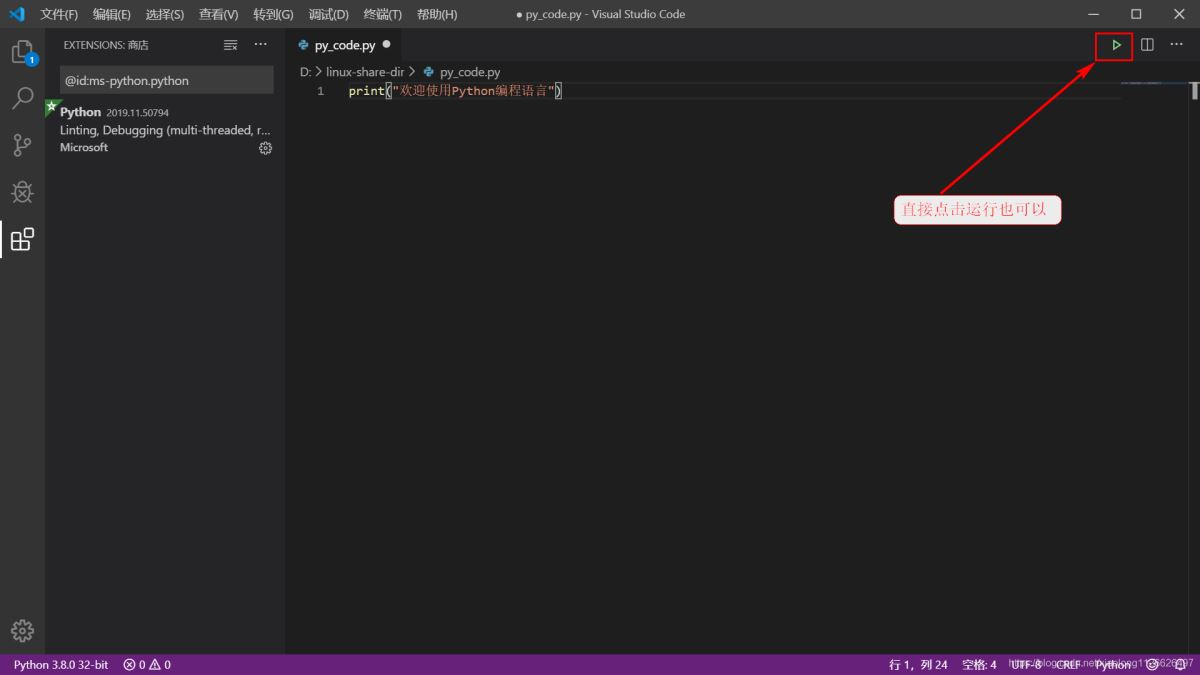
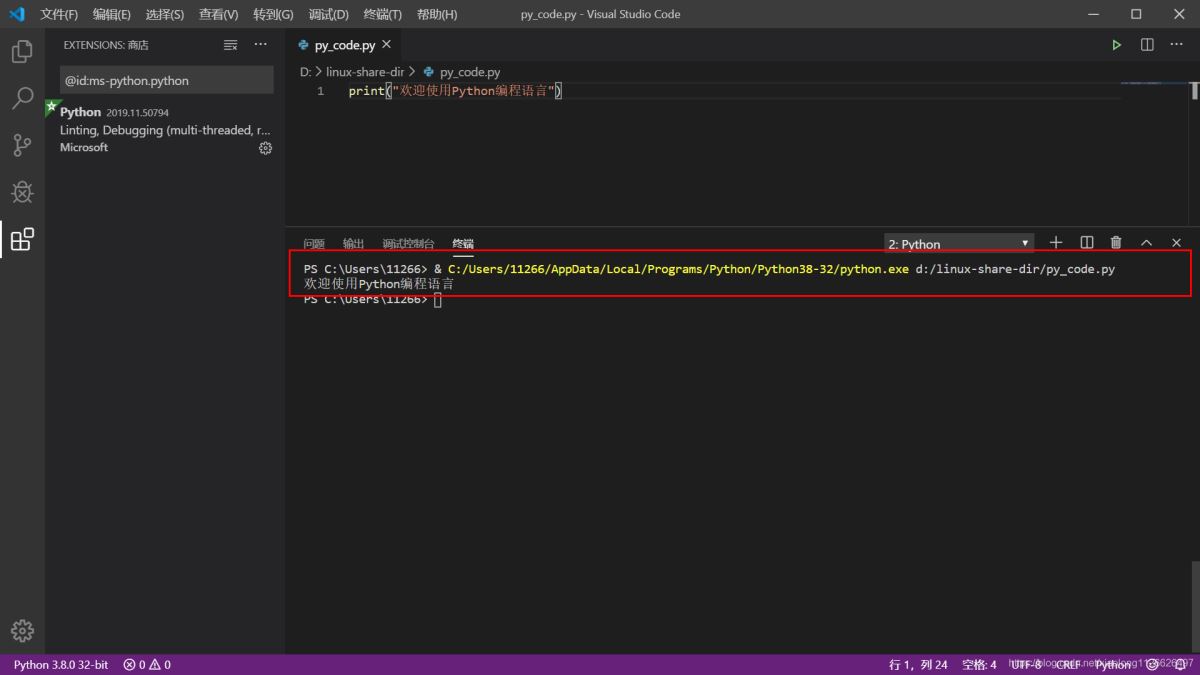
新建文本文件,保存的后缀为.py。
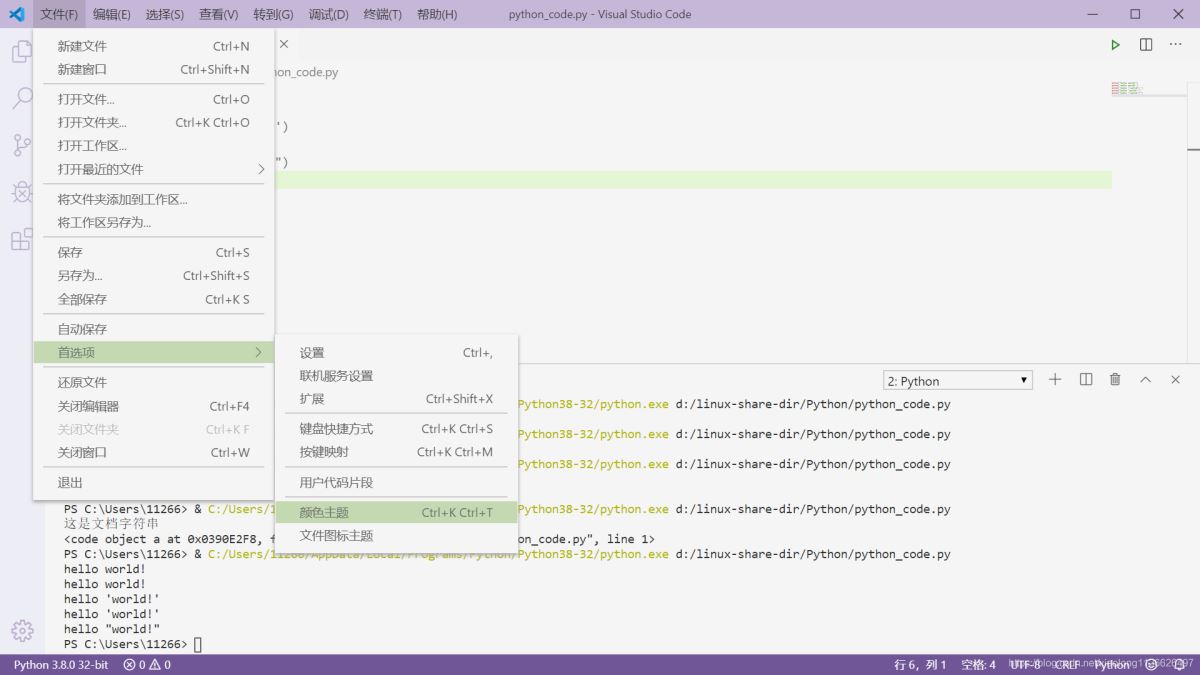
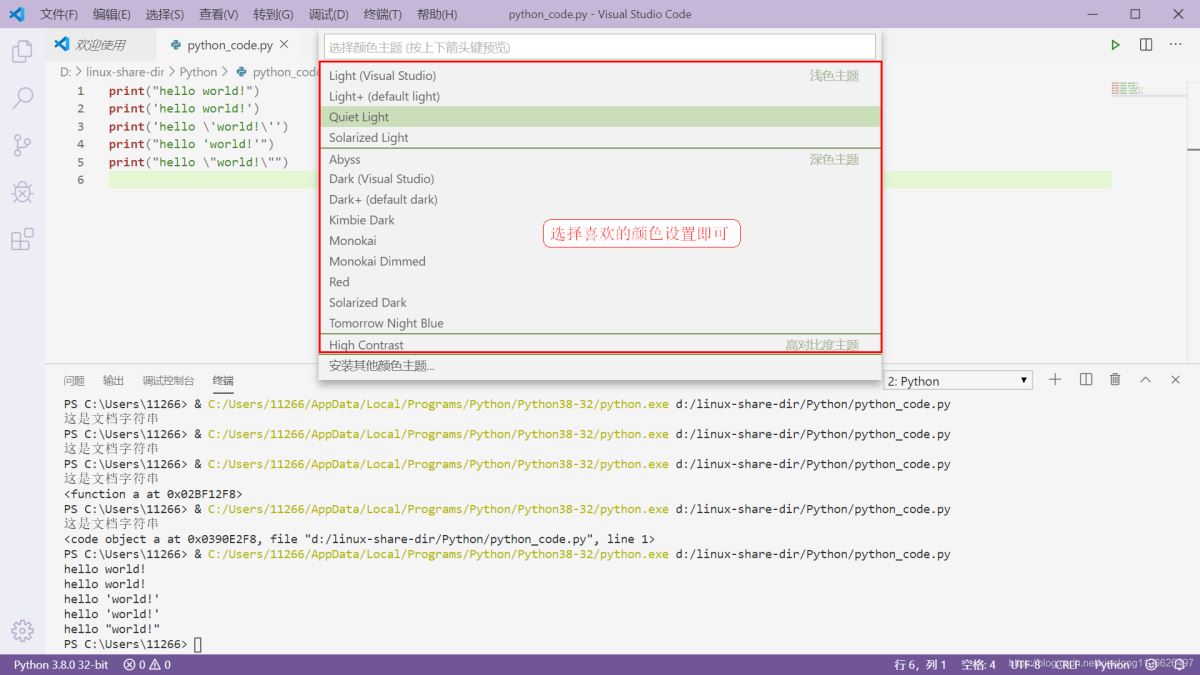
修改vscode的颜色主题
下面介绍更改颜色vscode的内置颜色主题方法。
到此这篇关于Python入门开发教程 windows下搭建开发环境vscode的步骤详解的文章就介绍到这了,更多相关Python开发环境搭建vscode内容请搜索脚本之家以前的文章或继续浏览下面的相关文章希望大家以后多多支持脚本之家!
您可能感兴趣的文章:- 利用Vscode进行Python开发环境配置的步骤
- 在VSCode中如何配置Python开发环境
- win10环境下配置vscode python开发环境的教程详解
- vscode 配置 python3开发环境的方法
- VSCode Python开发环境配置的详细步骤
- 使用 Visual Studio Code(VSCode)搭建简单的Python+Django开发环境的方法步骤
