目录
- 前言
- 一、目标
- 二、使用步骤
- 1. 安装 consul
- 2. 服务注册
- 3. 服务发现
- 4. 测试用例
- 总结
前言
前面一章讲了微服务的一些优点和缺点,那如何做到
一、目标
二、使用步骤
1. 安装 consul
我们可以直接使用官方提供的二进制文件来进行安装部署,其官网地址为 https://www.consul.io/downloads

下载后为可执行文件,在我们开发试验过程中,可以直接使用 consul agent -dev 命令来启动一个单节点的 consul
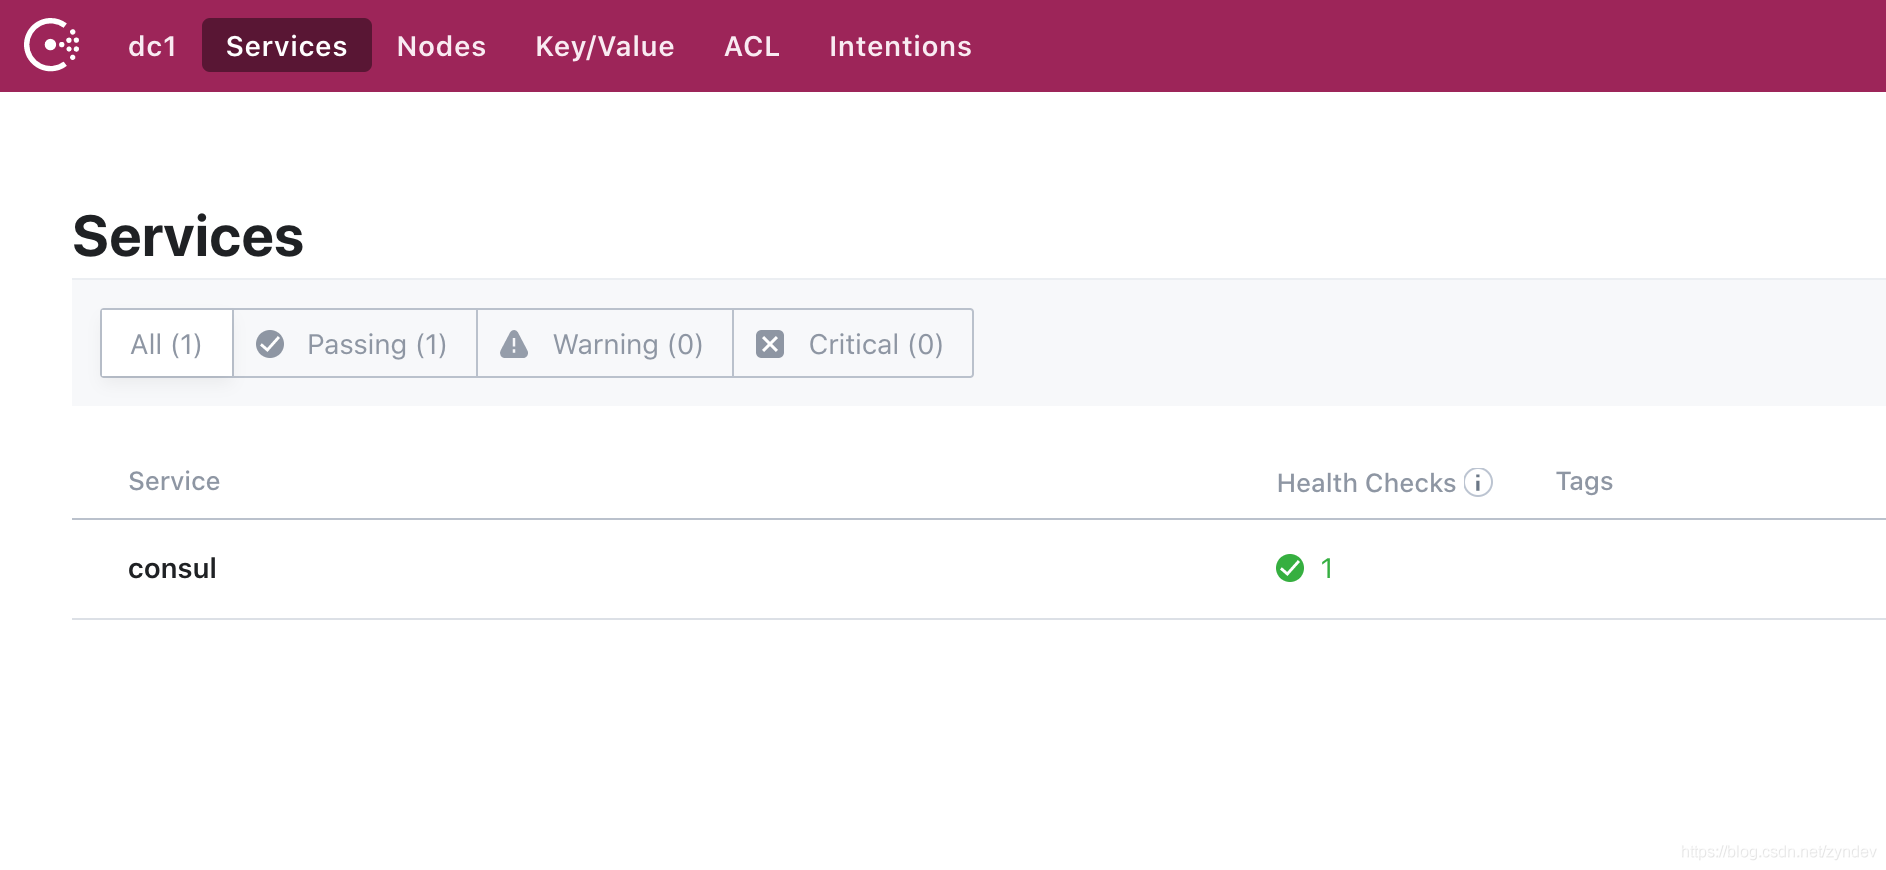
在启动的打印日志中可以看到 agent: Started HTTP server on 127.0.0.1:8500 (tcp), 我们可以在浏览器直接访问 127.0.0.1:8500 即可看到如下

这里我们的 consul 就启动成功了
2. 服务注册
在网络编程中,一般会提供项目的 IP、PORT、PROTOCOL,在服务治理中,我们还需要知道对应的服务名、实例名以及一些自定义的扩展信息
在这里使用 ServiceInstance 接口来规定注册服务时必须的一些信息
class ServiceInstance:

 def __init__(self, service_id: str, host: str, port: int, secure: bool = False, metadata: dict = None,
   instance_id: str = None):
 self.service_id = service_id
 self.host = host
 self.port = port
 self.secure = secure
 self.metadata = metadata
 self.instance_id = instance_id

 def get_instance_id(self):
 return
定义基类
在上面规定了需要注册的服务的必要信息,下面定义下服务注册和剔除的方法,方便以后实现 Eureka 和 Redis 的方式
import abc


class ServiceRegistry(abc.ABC):

 @abc.abstractmethod
 def register(self, service_instance: ServiceInstance):
 pass

 @abc.abstractmethod
 def deregister(self):
 pass
具体实现
因为 consul 提供了 http 接口来对consul 进行操作,我们也可以使用 http 请求方式进行注册和剔除操作,具体 http 接口文档见 https://www.consul.io/api-docs, consul 并没有提供 Python 语言的实现,这里使用 python-consul 来访问 consul
import consul


class ConsulServiceRegistry(ServiceRegistry):
 _consul = None
 _instance_id = None

 def __init__(self, host: str, port: int, token: str = None):
 self.host = host
 self.port = port
 self.token = token
 self._consul = consul.Consul(host, port, token=token)

 def register(self, service_instance: ServiceInstance):
 schema = "http"
 if service_instance.secure:
  schema = "https"
 check = consul.Check.http(f'{schema}:{service_instance.host}:{service_instance.port}/actuator/health', "1s",
     "3s", "10s")
 self._consul.agent.service.register(service_instance.service_id,
      service_id=service_instance.instance_id,
      address=service_instance.host,
      port=service_instance.port,
      check=check)
 self._instance_id = service_instance.instance_id

 def deregister(self):
 if self._instance_id:
  self._consul.agent.service.deregister(service_id=self._instance_id)
  self._instance_id = None
3. 服务发现
在服务发现中,一般会需要两个方法
基类定义
import abc


class DiscoveryClient(abc.ABC):

 @abc.abstractmethod
 def get_services(self) -> list:
 pass

 @abc.abstractmethod
 def get_instances(self, service_id: str) -> list:
 pass
具体实现
来实现一下
这里是简化版,所以一些参数直接写死了,如果需要可以适当修改
import consul


class ConsulServiceDiscovery(DiscoveryClient):

 _consul = None

 def __init__(self, host: str, port: int, token: str = None):
 self.host = host
 self.port = port
 self.token = token
 self._consul = consul.Consul(host, port, token=token)

 def get_services(self) -> list:
 return self._consul.catalog.services()[1].keys()

 def get_instances(self, service_id: str) -> list:
 origin_instances = self._consul.catalog.service(service_id)[1]
 result = []
 for oi in origin_instances:
  result.append(ServiceInstance(
  oi.get('ServiceName'),
  oi.get('ServiceAddress'),
  oi.get('ServicePort'),
  oi.get('ServiceTags'),
  oi.get('ServiceMeta'),
  oi.get('ServiceID'),
  ))
 return result
4. 测试用例
import unittest
from random import random

class MyTestCase(unittest.TestCase):
 def test_consul_register(self):
 instance = ServiceInstance("abc", "127.0.0.1", 8000, instance_id=f'abc_{random()}')

 registry = ConsulServiceRegistry("127.0.0.1", 8500)
 discovery = ConsulServiceDiscovery("127.0.0.1", 8500)
 registry.register(instance)
 print(discovery.get_services())
 print(discovery.get_instances("abc"))
 self.assertEqual(True, True)
if __name__ == '__main__':
 unittest.main()
总结
通过使用 consul api 我们可以简单的实现基于 consul 的服务发现,在通过结合 http rpc 就可简单的实现服务的调用,下面一章来简单讲下 go 如何发起 http 请求,为我们做 rpc 做个铺垫
具体代码见 https://github.com/zhangyunan1994/gimini
参考
https://www.consul.io/api-docs
https://github.com/hashicorp/consul/tree/master/api
到此这篇关于Python 使用 consul 做服务发现的文章就介绍到这了,更多相关Python 使用 consul 服务内容请搜索脚本之家以前的文章或继续浏览下面的相关文章希望大家以后多多支持脚本之家!
您可能感兴趣的文章:- python实现FTP文件传输的方法(服务器端和客户端)
- python实现从ftp服务器下载文件
- Python3搭建http服务器的实现代码
- python+selenium定时爬取丁香园的新型冠状病毒数据并制作出类似的地图(部署到云服务器)