我们知道Vscode是一款强大的编辑器,我们可以通过商城里面的插件扩展来写C/C++/python/java等。同样Vscode支持SQL语言,我们可以通过Vscode来连接本地的数据库,并对本地的数据库进行操作,接下来看怎么实现的吧。
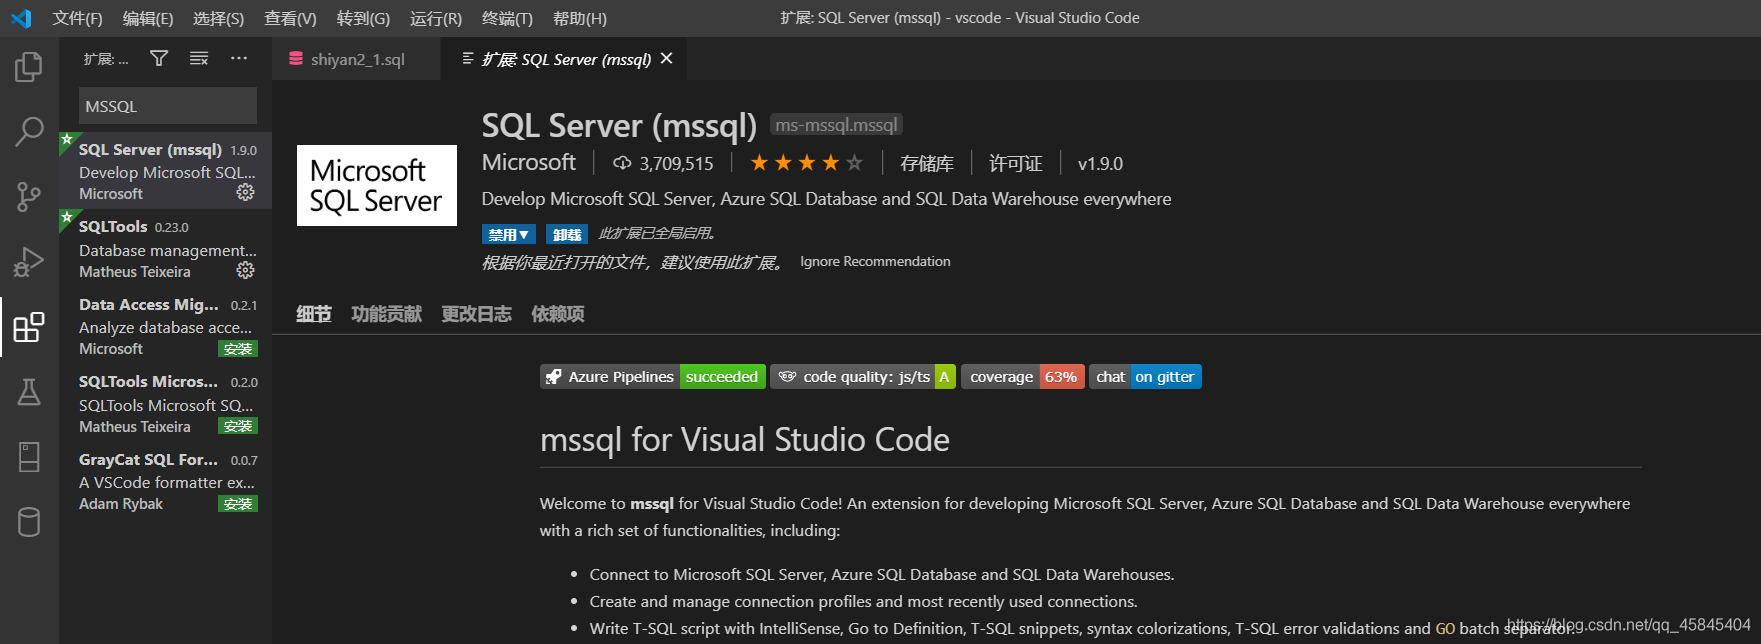
首先我们要在Vscode商城里面下载一个插件:MSSQL。
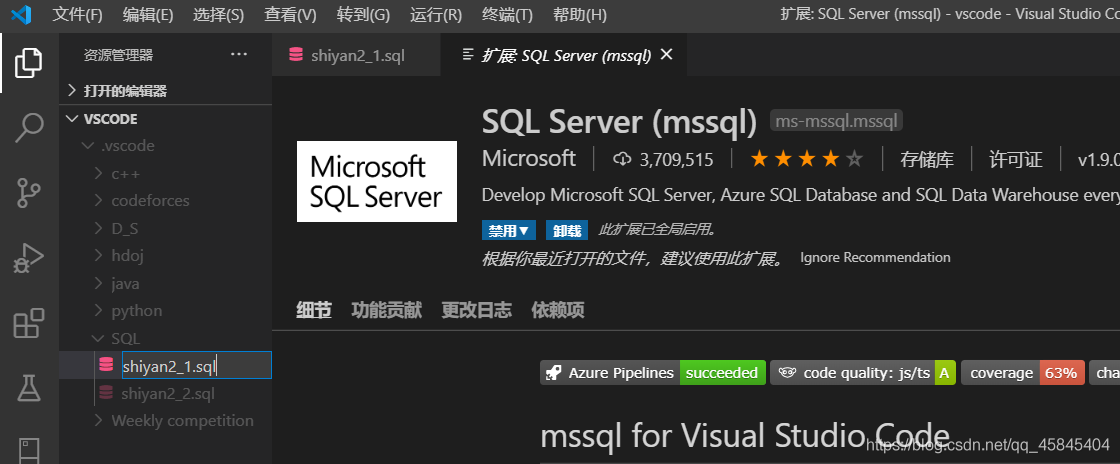
安装之后,我们可以新建一个.sql文件,然后我们发现右上角多了一个绿色按钮和一个红色按钮。
点击数据库,这里我选择连接的是系统数据库中的master库。

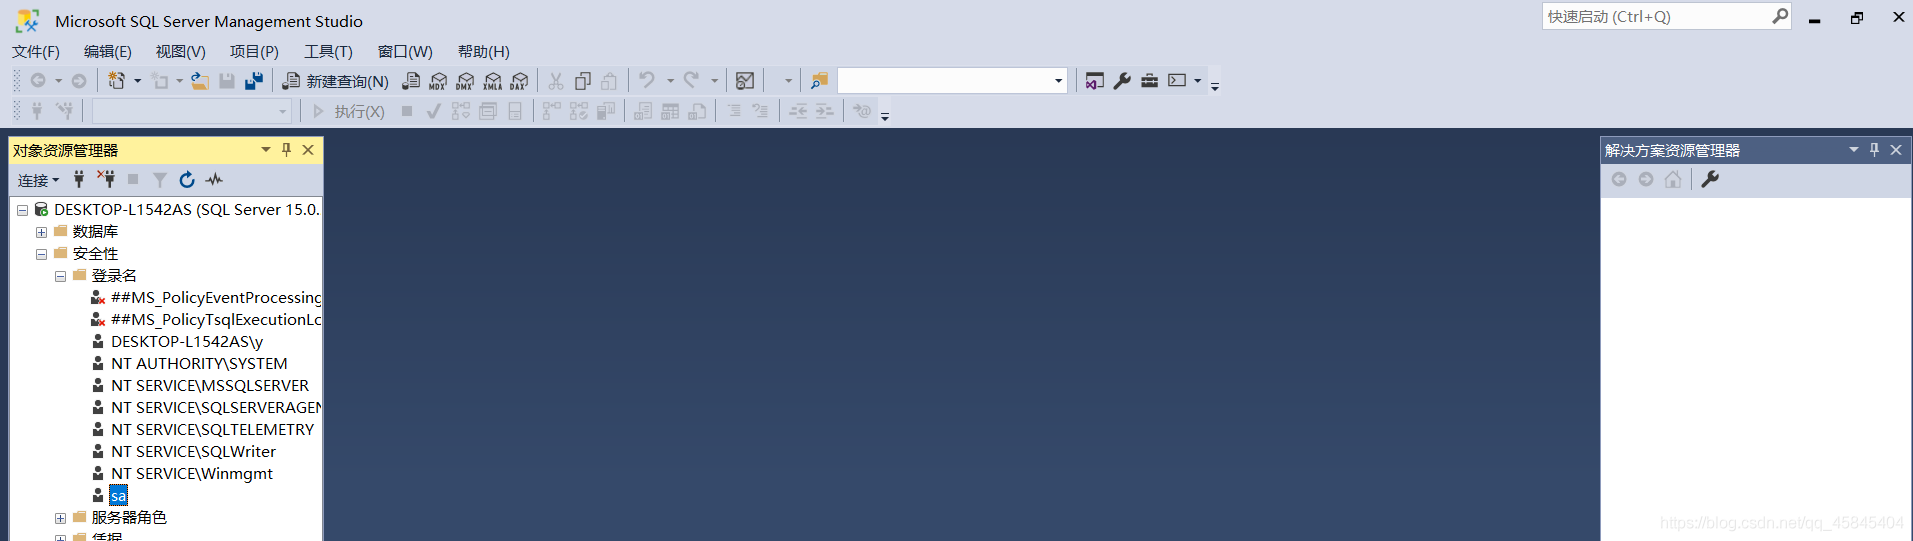
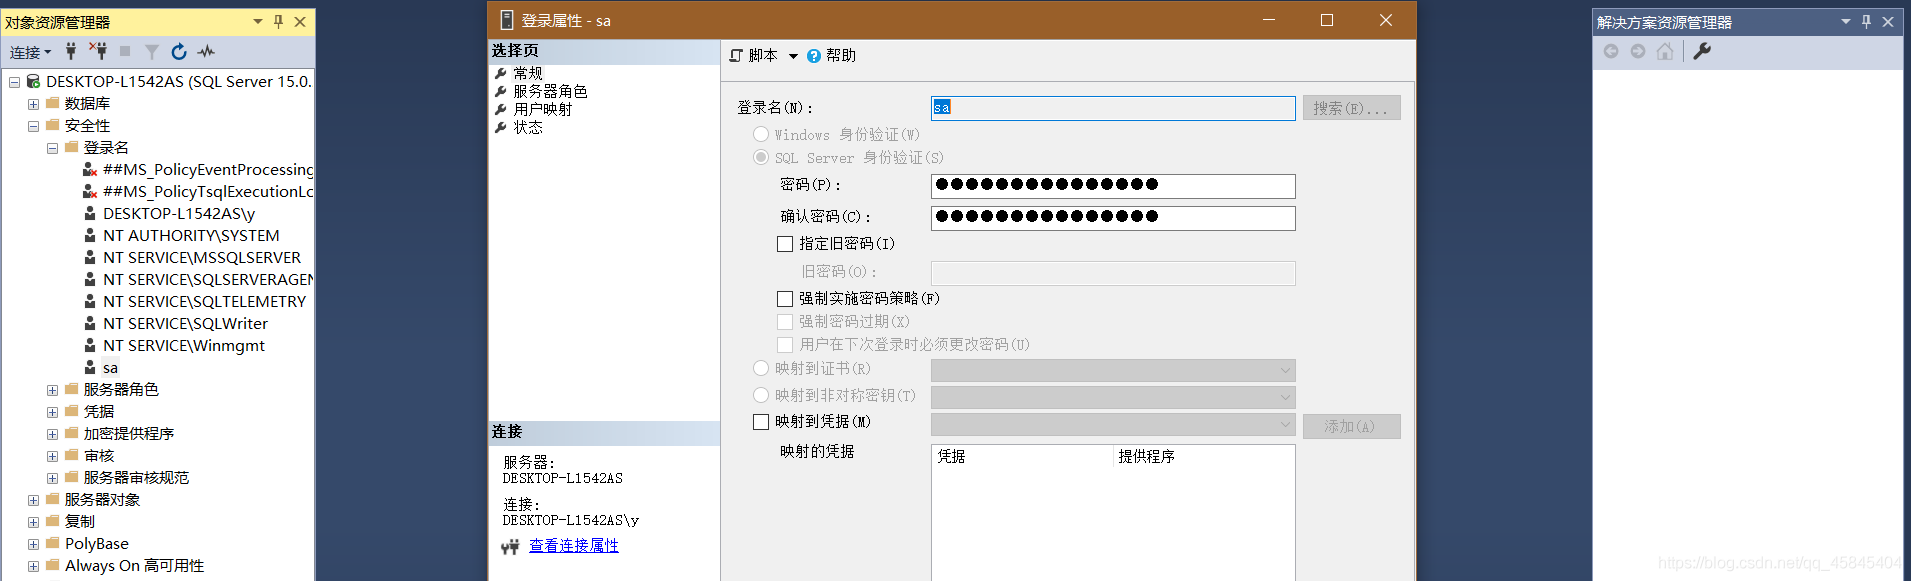
下一步更改登录密码(找到数据库的安全性,选择登录名中的sa,右键属性)
强制密码策略取消勾选,输入自己的密码。
接下来要连接我们本地的数据库了: 我们先点击绿色按钮。
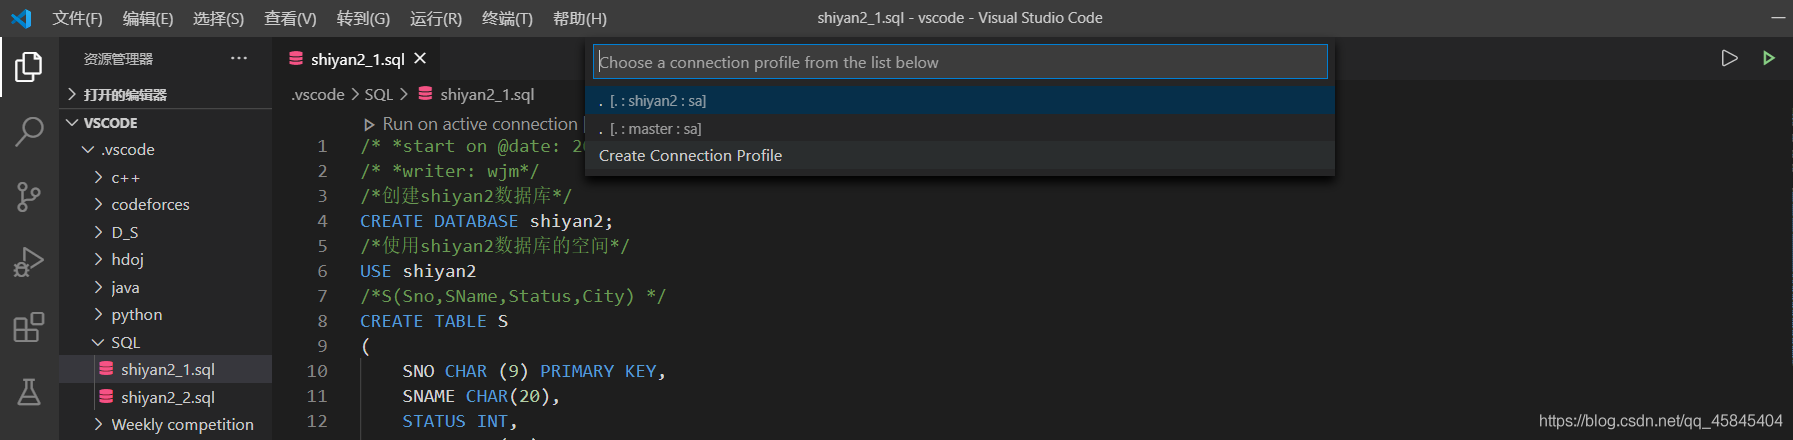
这时,会提示我们Creat Connection Profile.我们点击它(截图中前两个是我已经创建好的默认连接,请点击CreatConnection Profile)。
接下来输入一个 . 再按下Enter键。

输入master并回车。

然后显示是这样的:

我们选择SQL Login,回车。
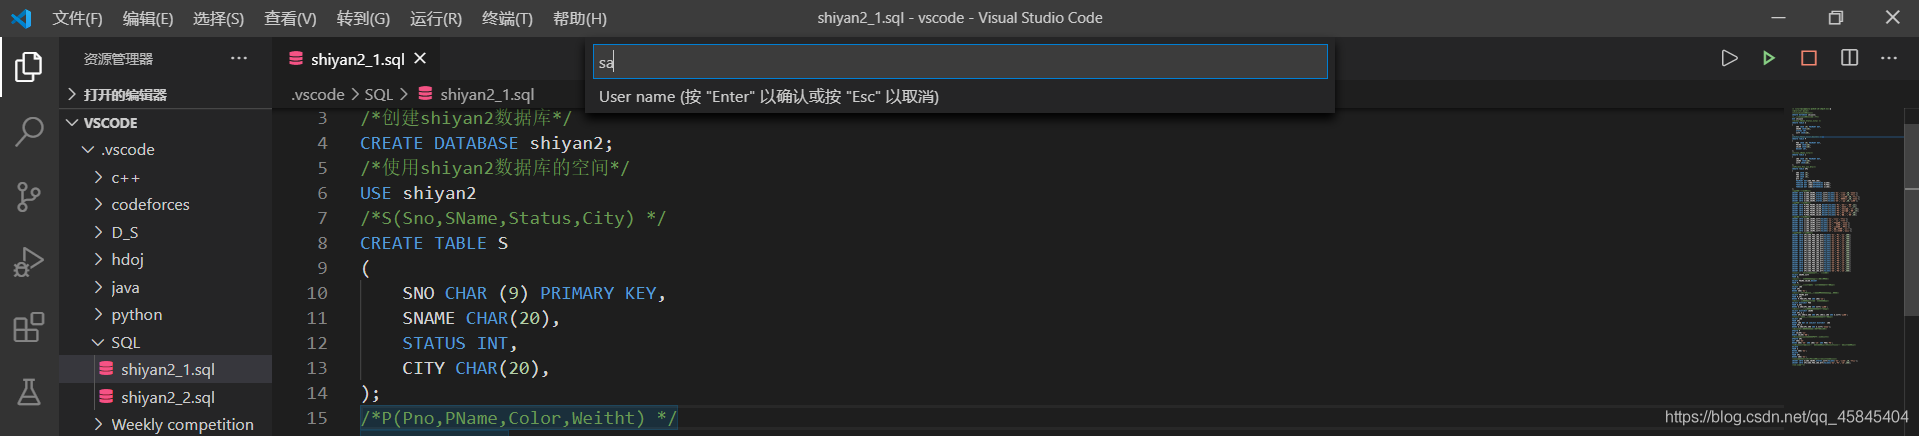
用户名输入sa,回车。
password是123456(自己设置的sa密码),然后回车。

接下来保存密码选择Yes,方便下次使用,然后Enter。

这个选项直接按回车,然后就会显示我们成功连接了本地的数据库。

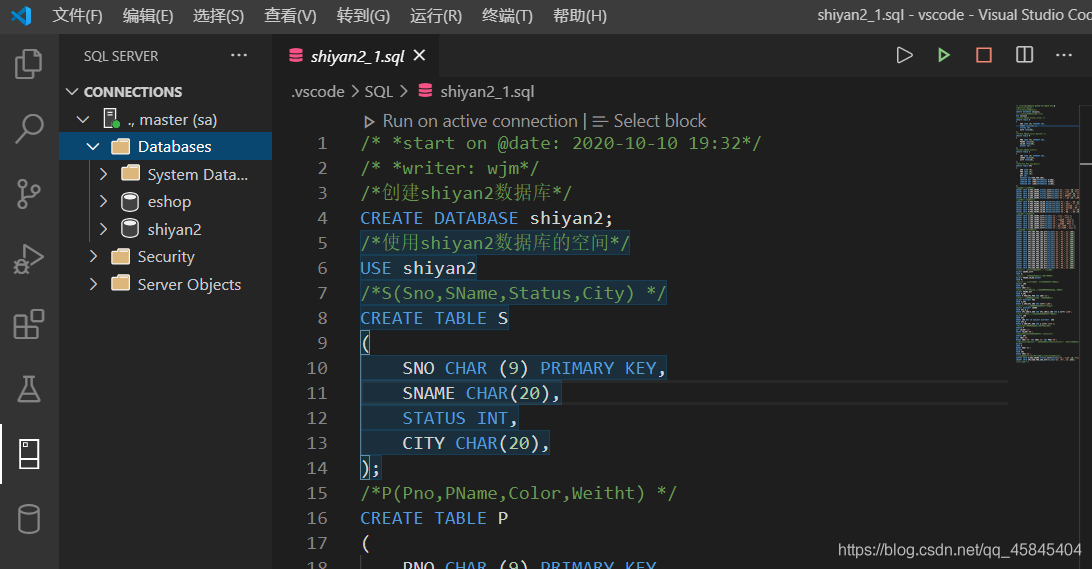
然后我们就在sql文件里写代码并执行。
比如我创建了一个shiyan2的数据库(我已经创建过了,所以有报错)。

选中后按绿色图标。

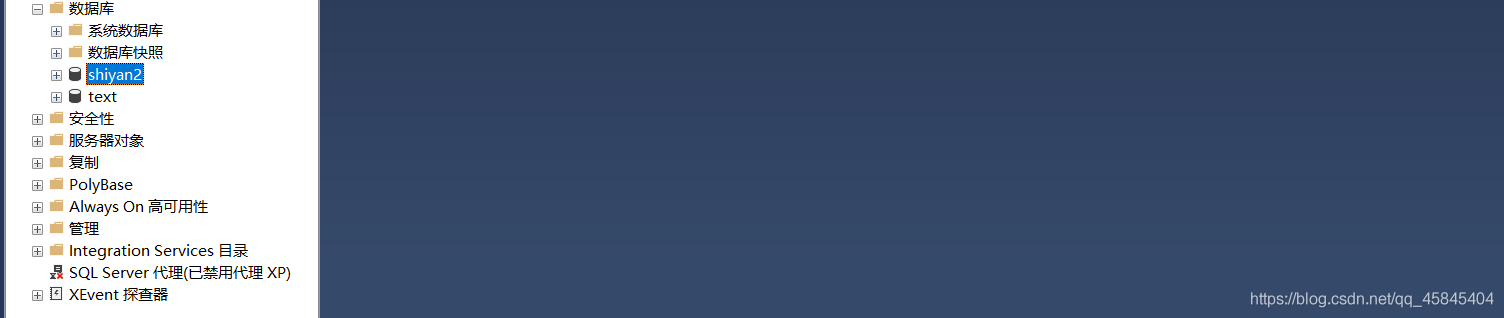
然后就会显示命令成功执行,并且在SSMS中的确出现了这么一个数据库。
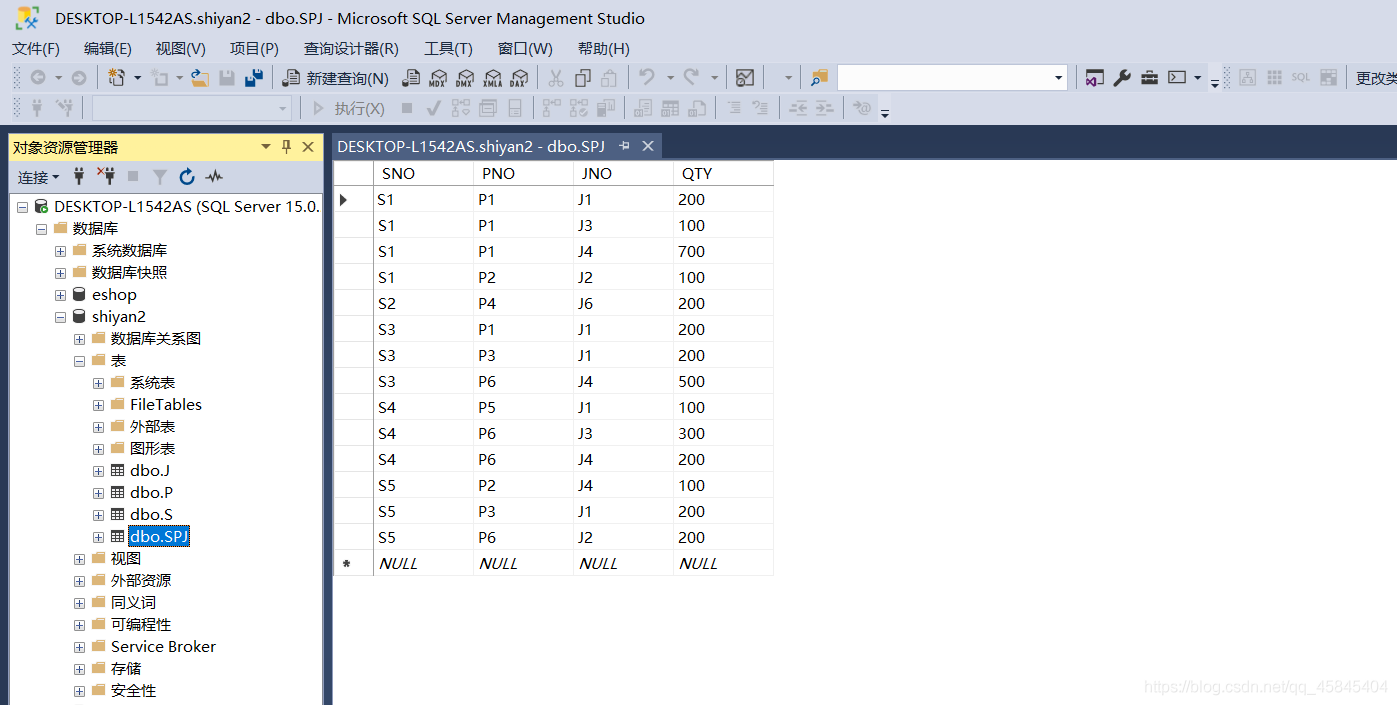
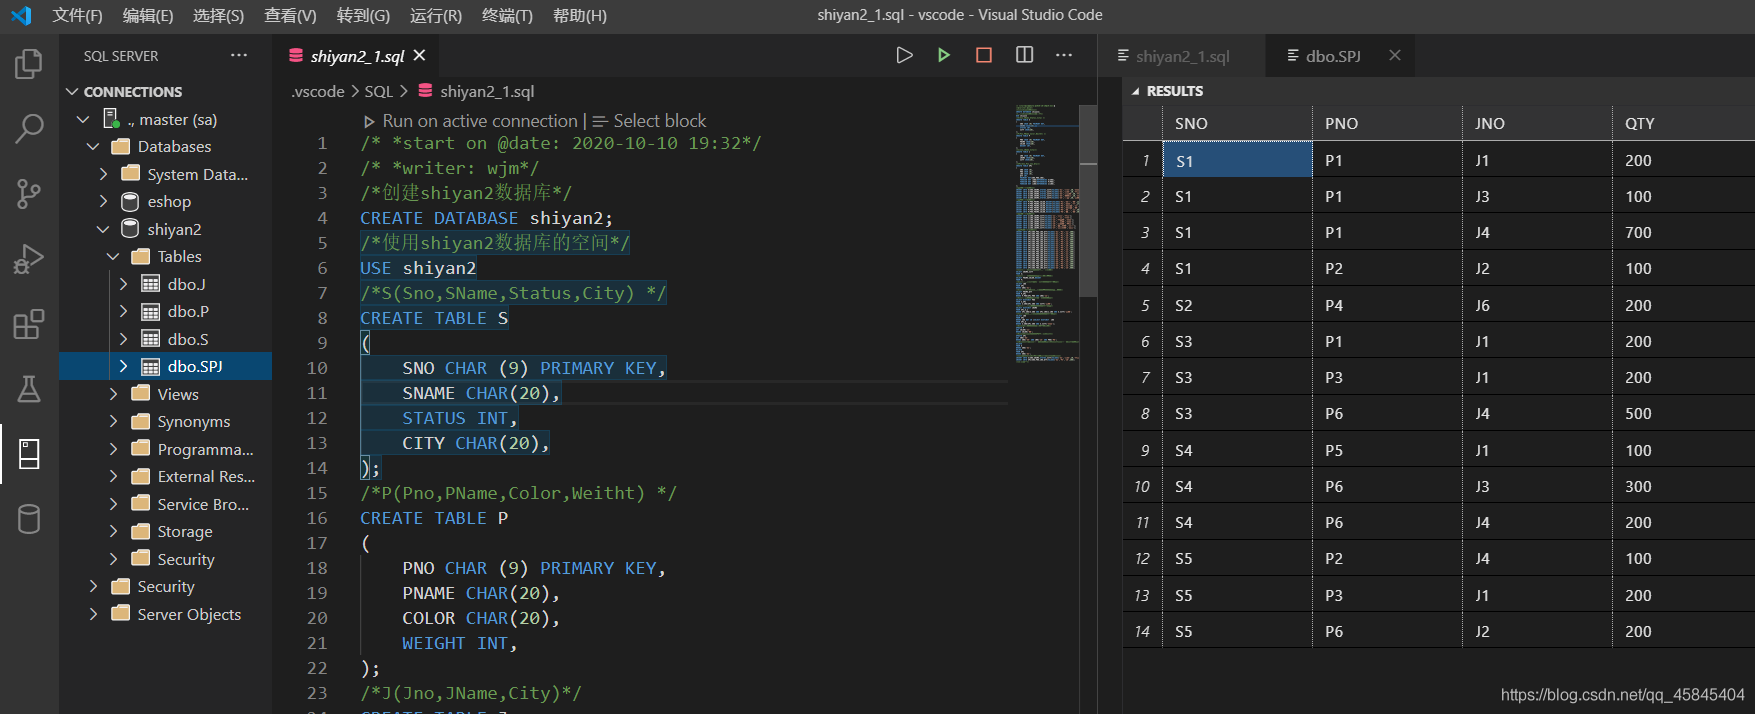
接下来我们在shiyan2数据库中创建S,J,SPJ表,并插入数据。

打开SSMS检测一下发现真的成功了:
试一下查询S表中的SNAME,CITY列,没问题,大功告成。

补充:
Vscode同样有对象资源管理器:
在这里面我们可以清晰的看到数据库的内涵。
您可能感兴趣的文章:- window环境下使用VScode连接虚拟机MySQL方法
